
We decided to put a reassessed pocket in the dashboard,
Fabricating the recessed storage compartment & lid.
So having failed to find a suitable bread tin, we did a bit of CAD work (cardboard-aided design) and ordered some sheet metal plus some better quality cardboard as all we currently have is old corrugated boxes.
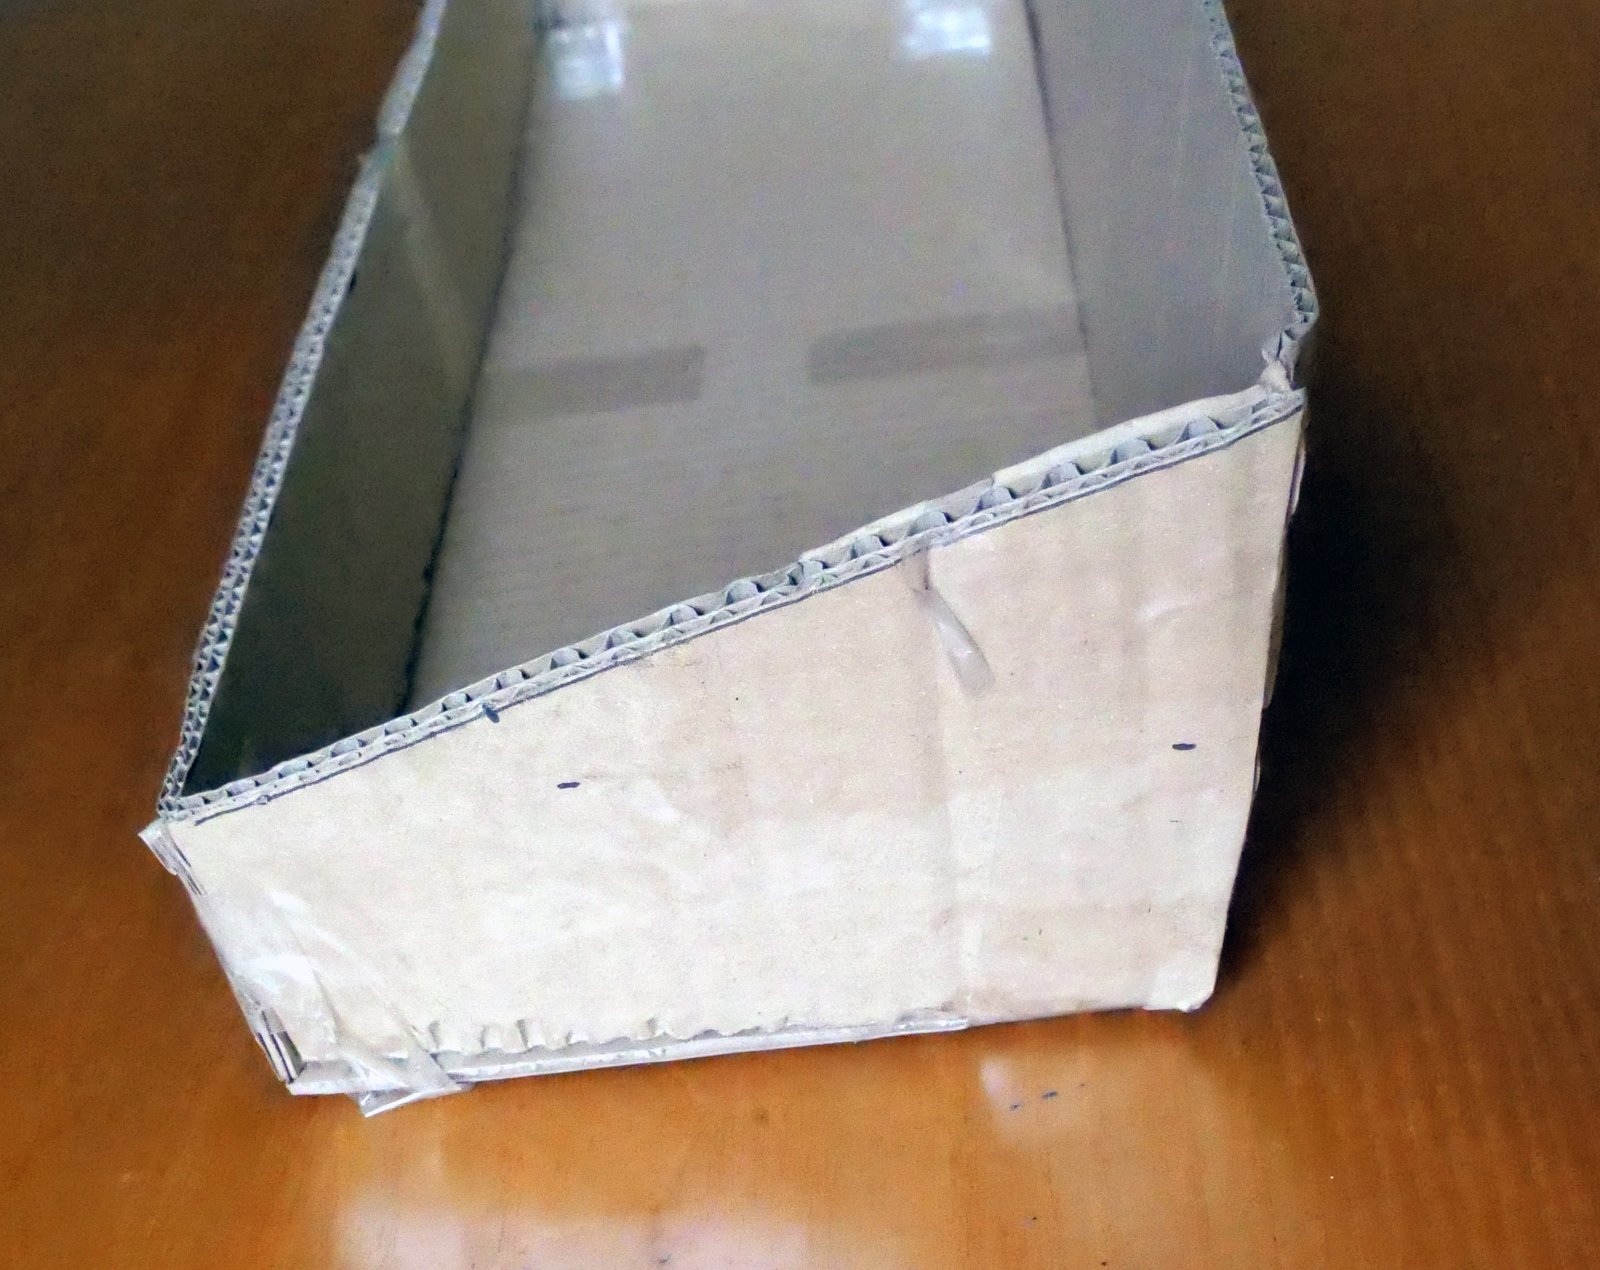
First model. The top opening is 450mm long by 150mm at 20 degrees sides sloped at 95 degrees out from a horizontal base. 45mm deep on the shortest side.
Our cardboard model proved to be a good idea as it highlighted a possible improvement, there happened to be an OS map around (one of the most likely things to end up in the pocket, and it didn’t quite fit.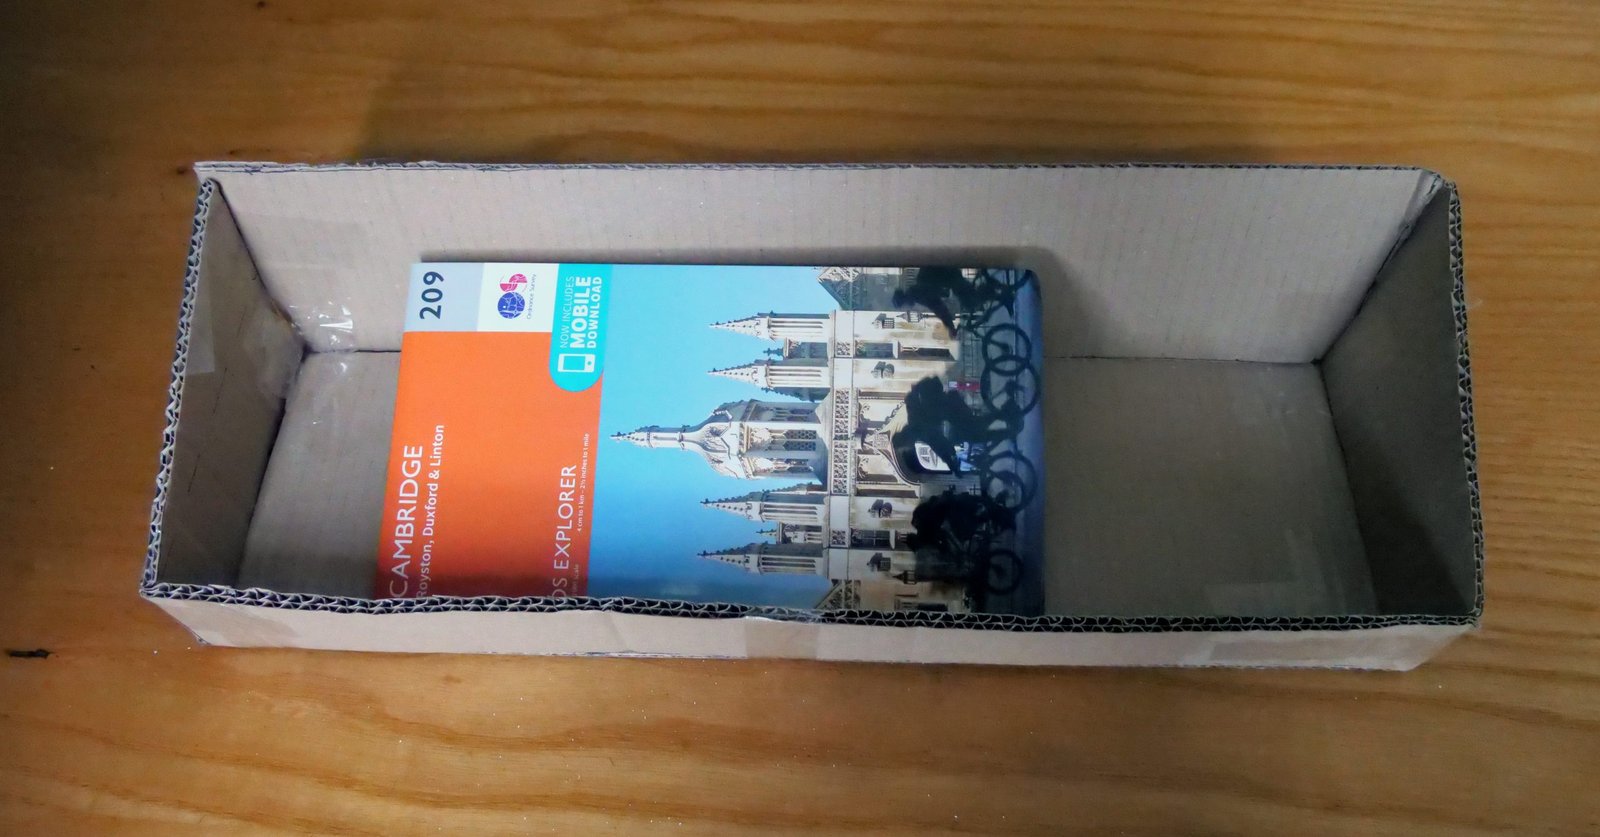
So we changed the 95 degrees to 90.
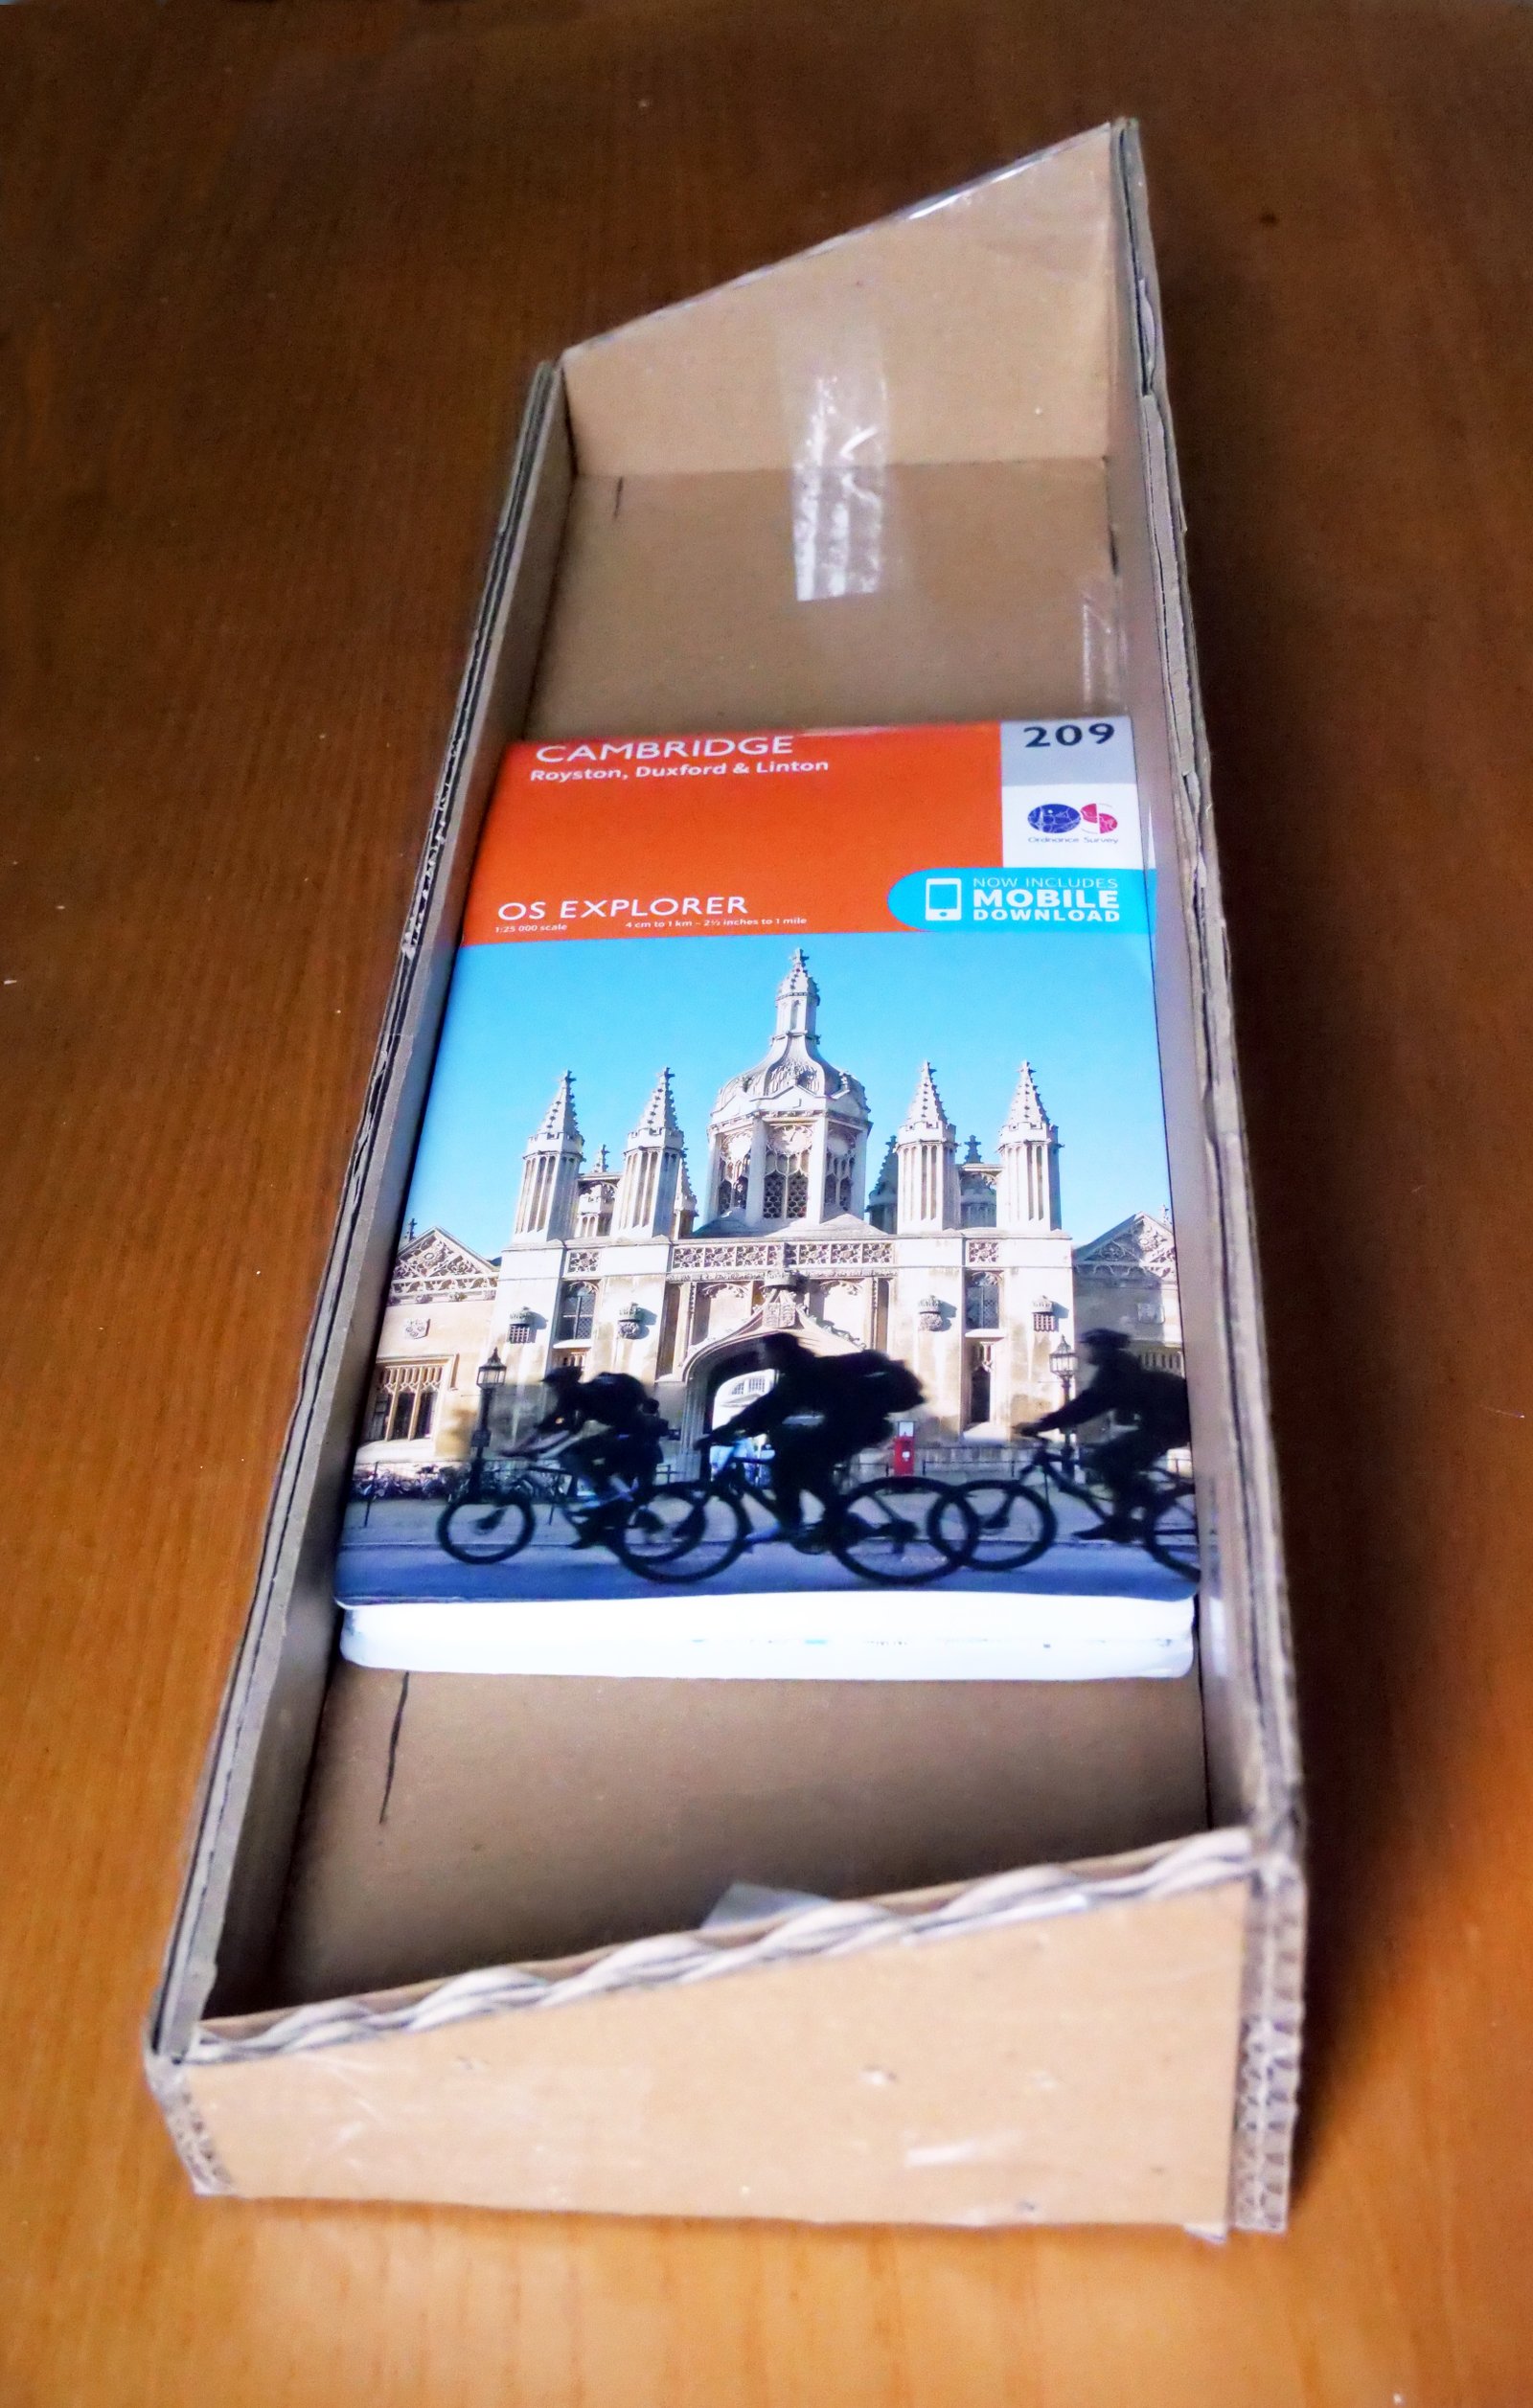
Second model. The top opening is 450mm long by 150mm at 20 degrees, with sides at 90 degrees from a horizontal base. 45mm deep on the shortest side, and the map fits, even with the somewhat thick cardboard.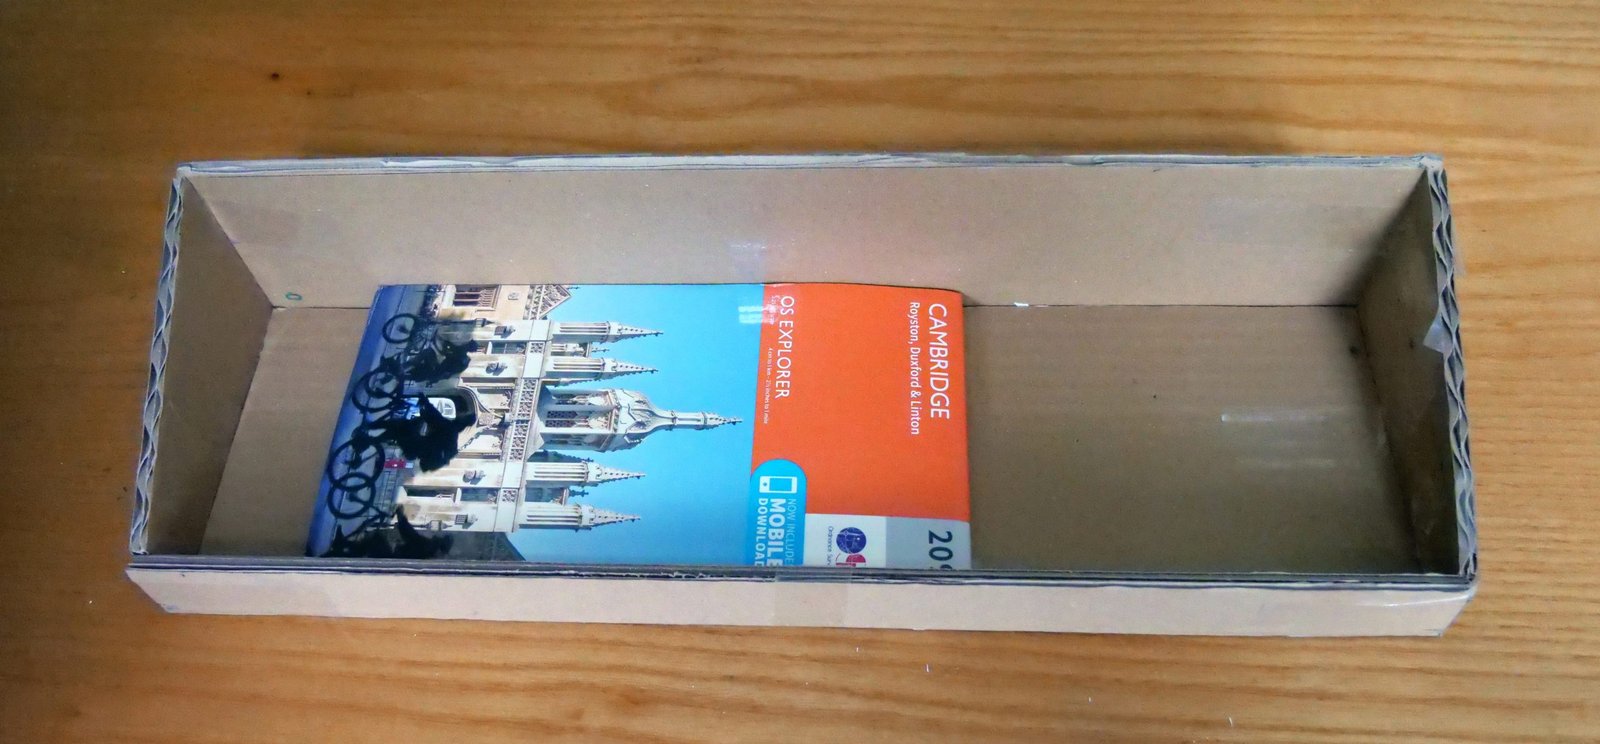
The Cardboard & metal have now arrived so a more accurate model can be cut.
There should also be some metal left over for other projects or a second attempt if the first goes wrong?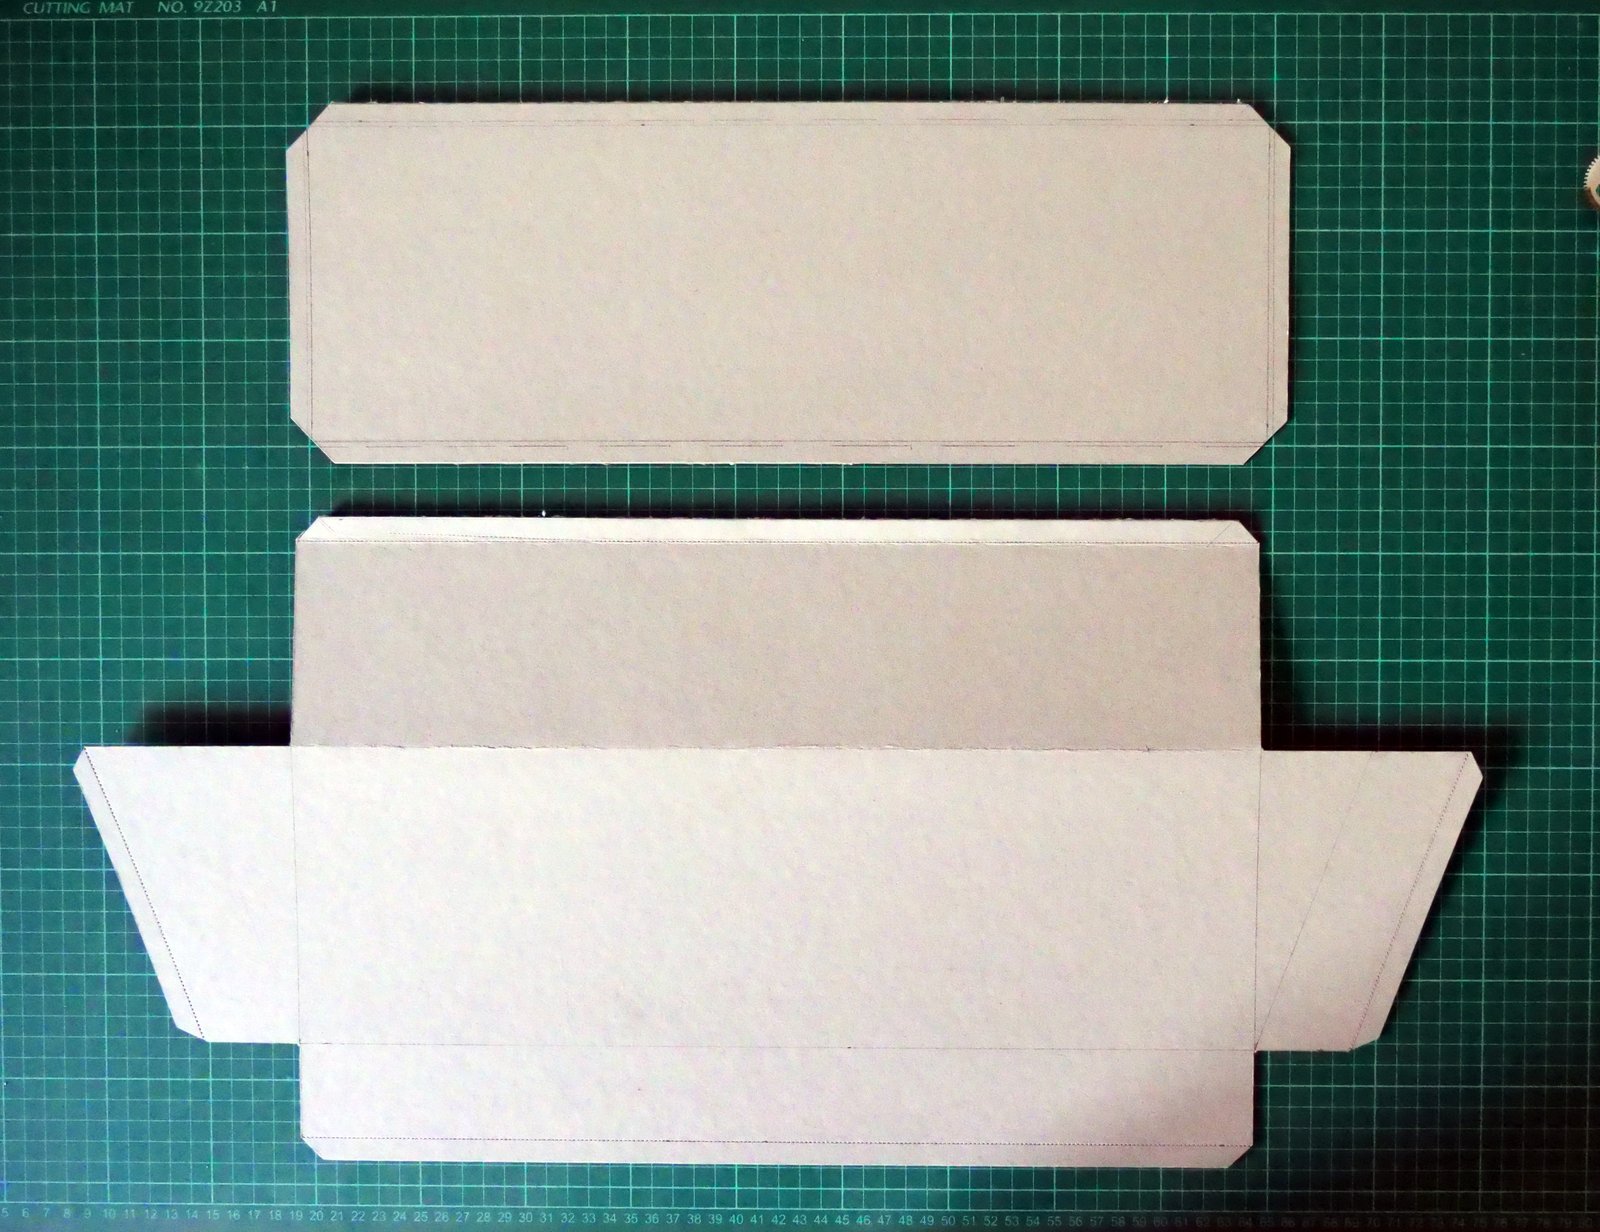
The cardboard mock-up.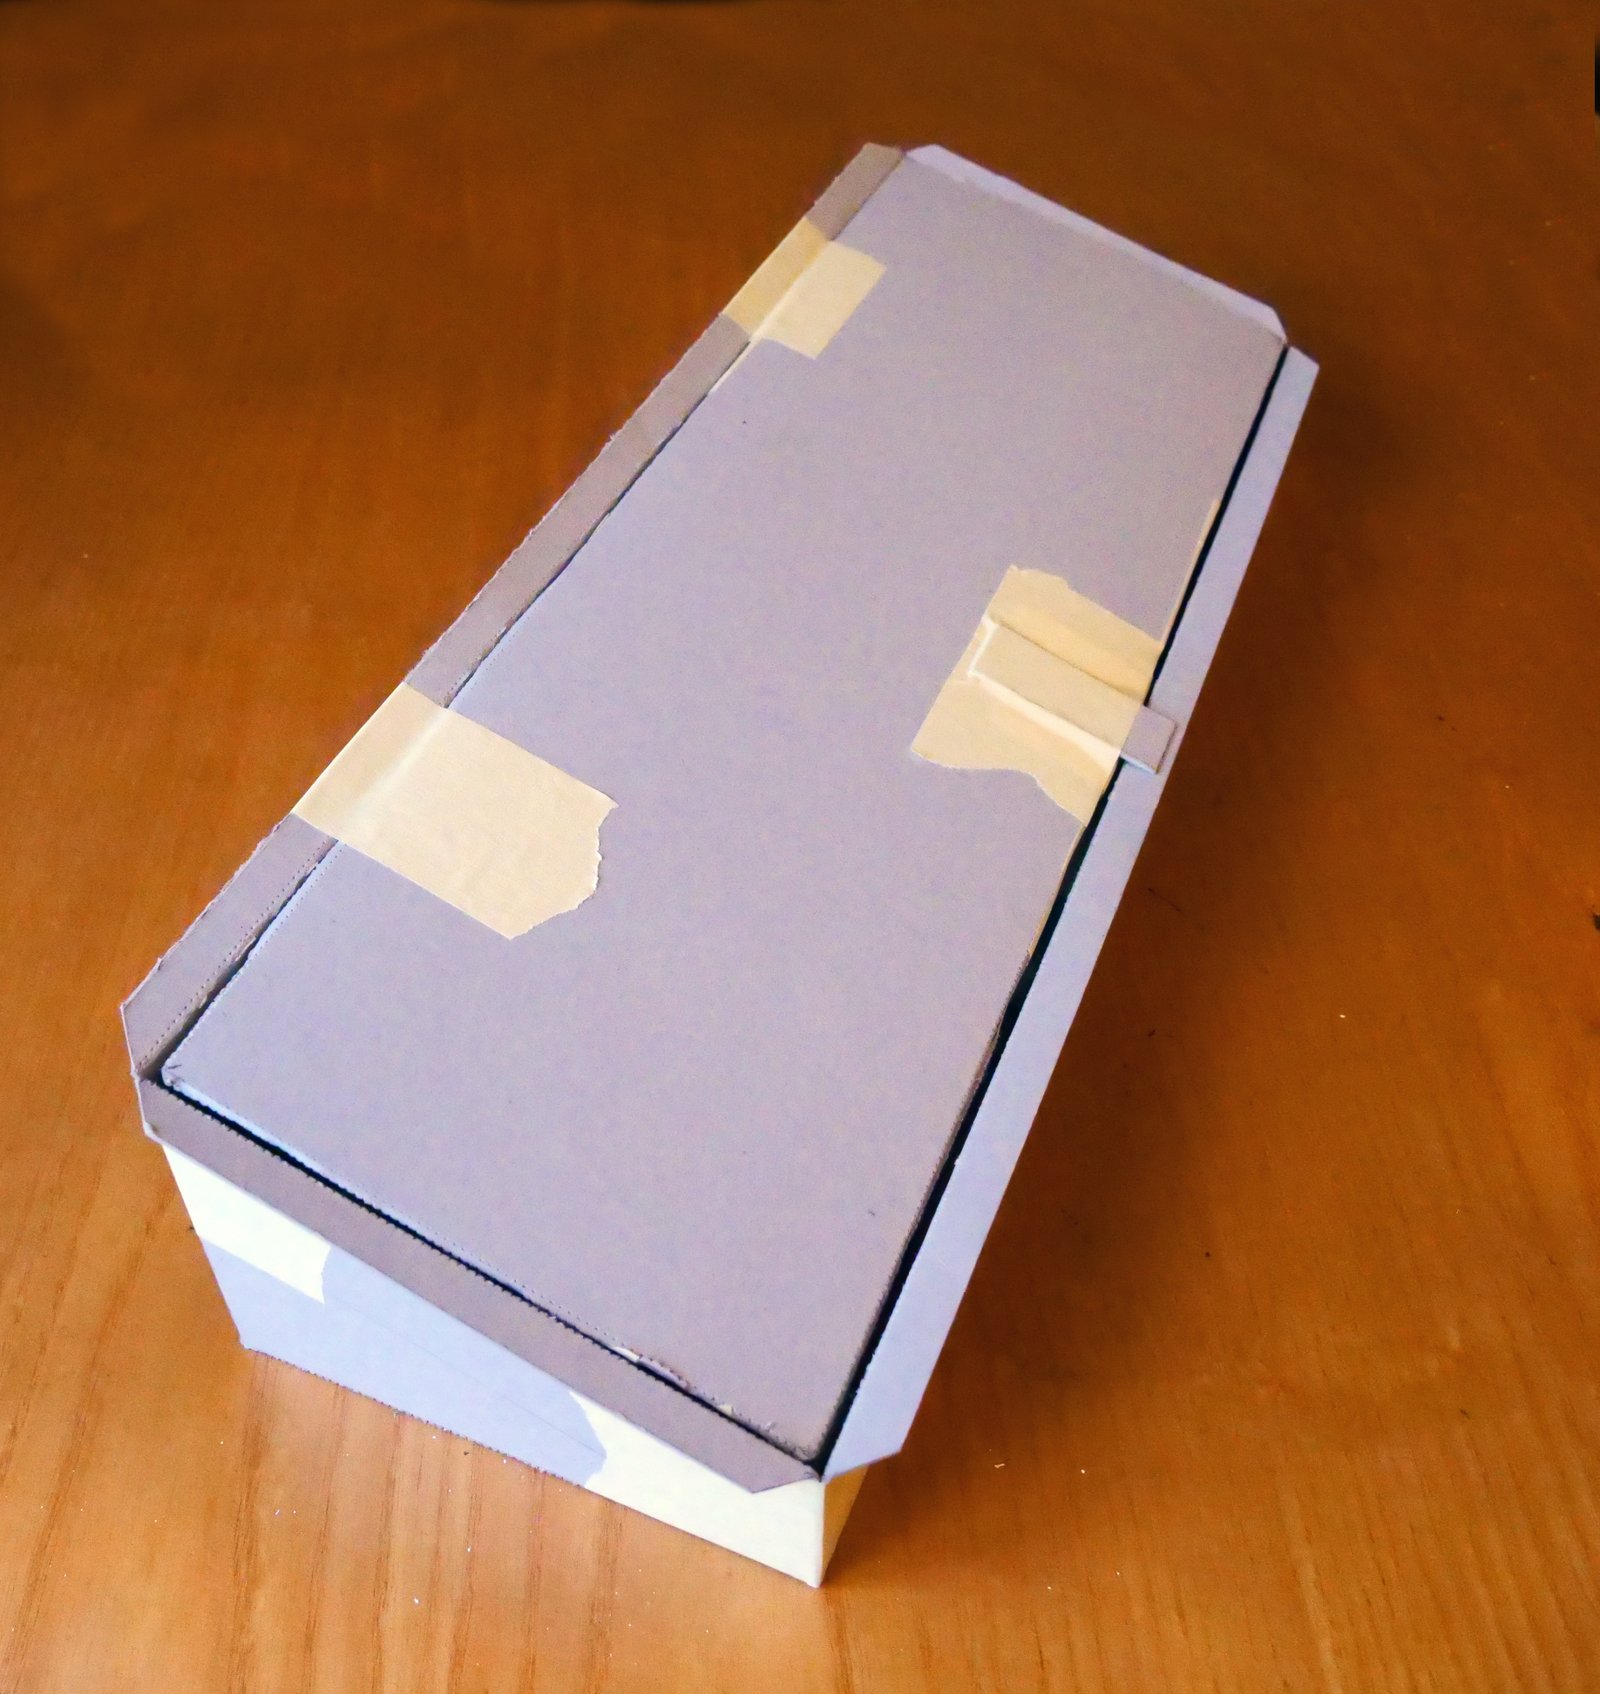 The above has also been transferred to a real CAD program and hopefully, our lad will create a cutting plan that allows for rounded corners on the base and sides and includes a hinged lid.
The reassessed pocket will eventually go here.
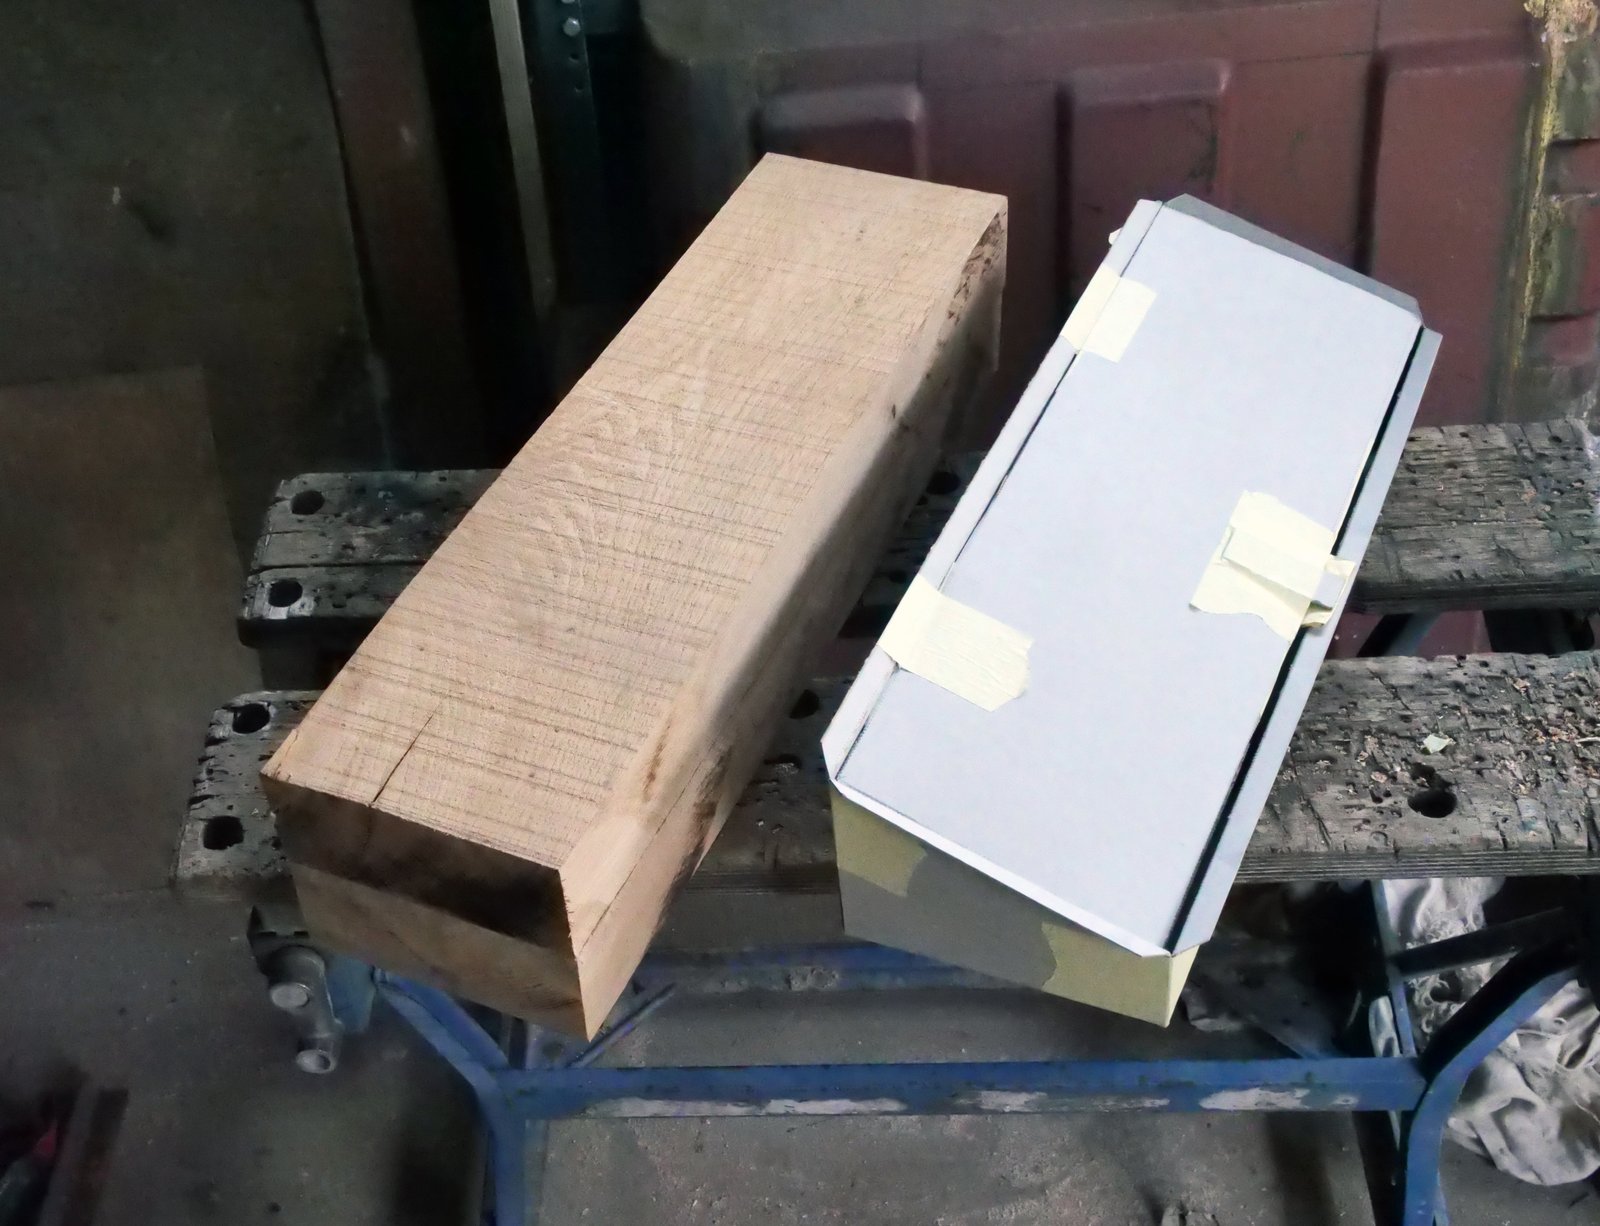
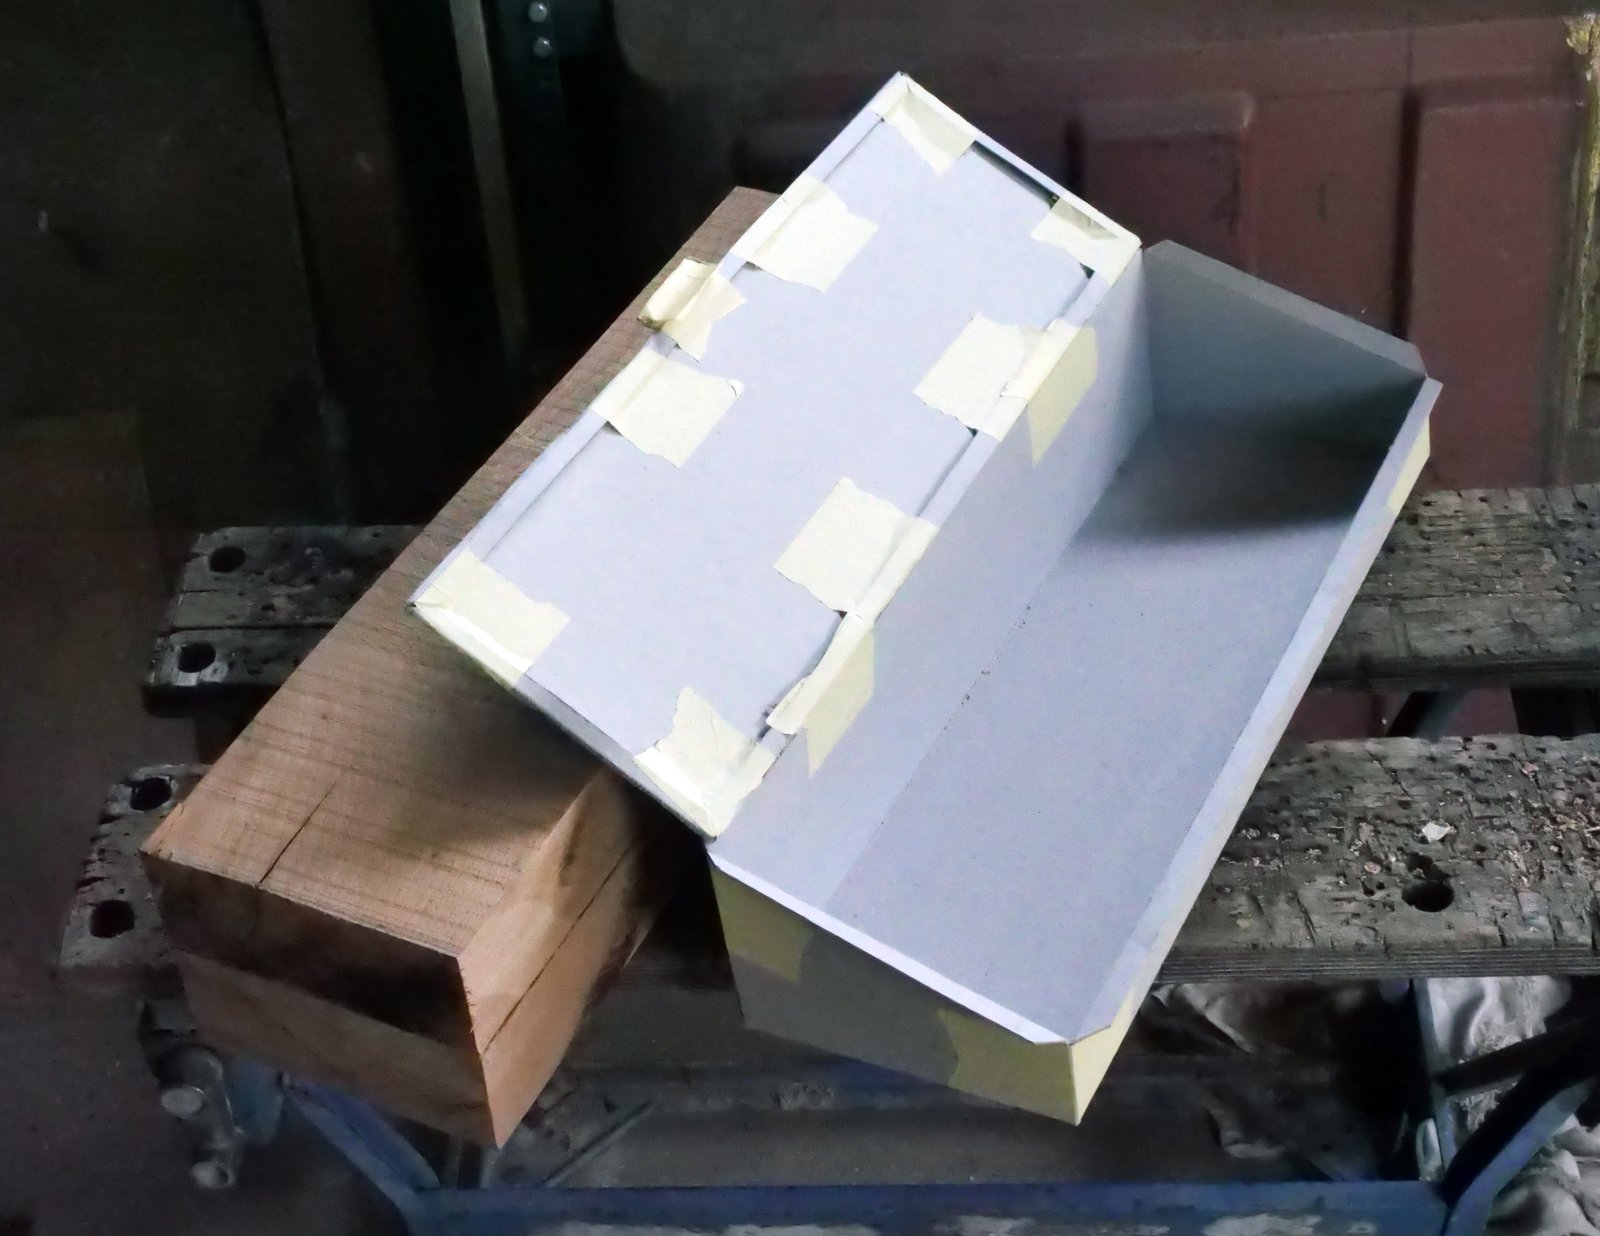
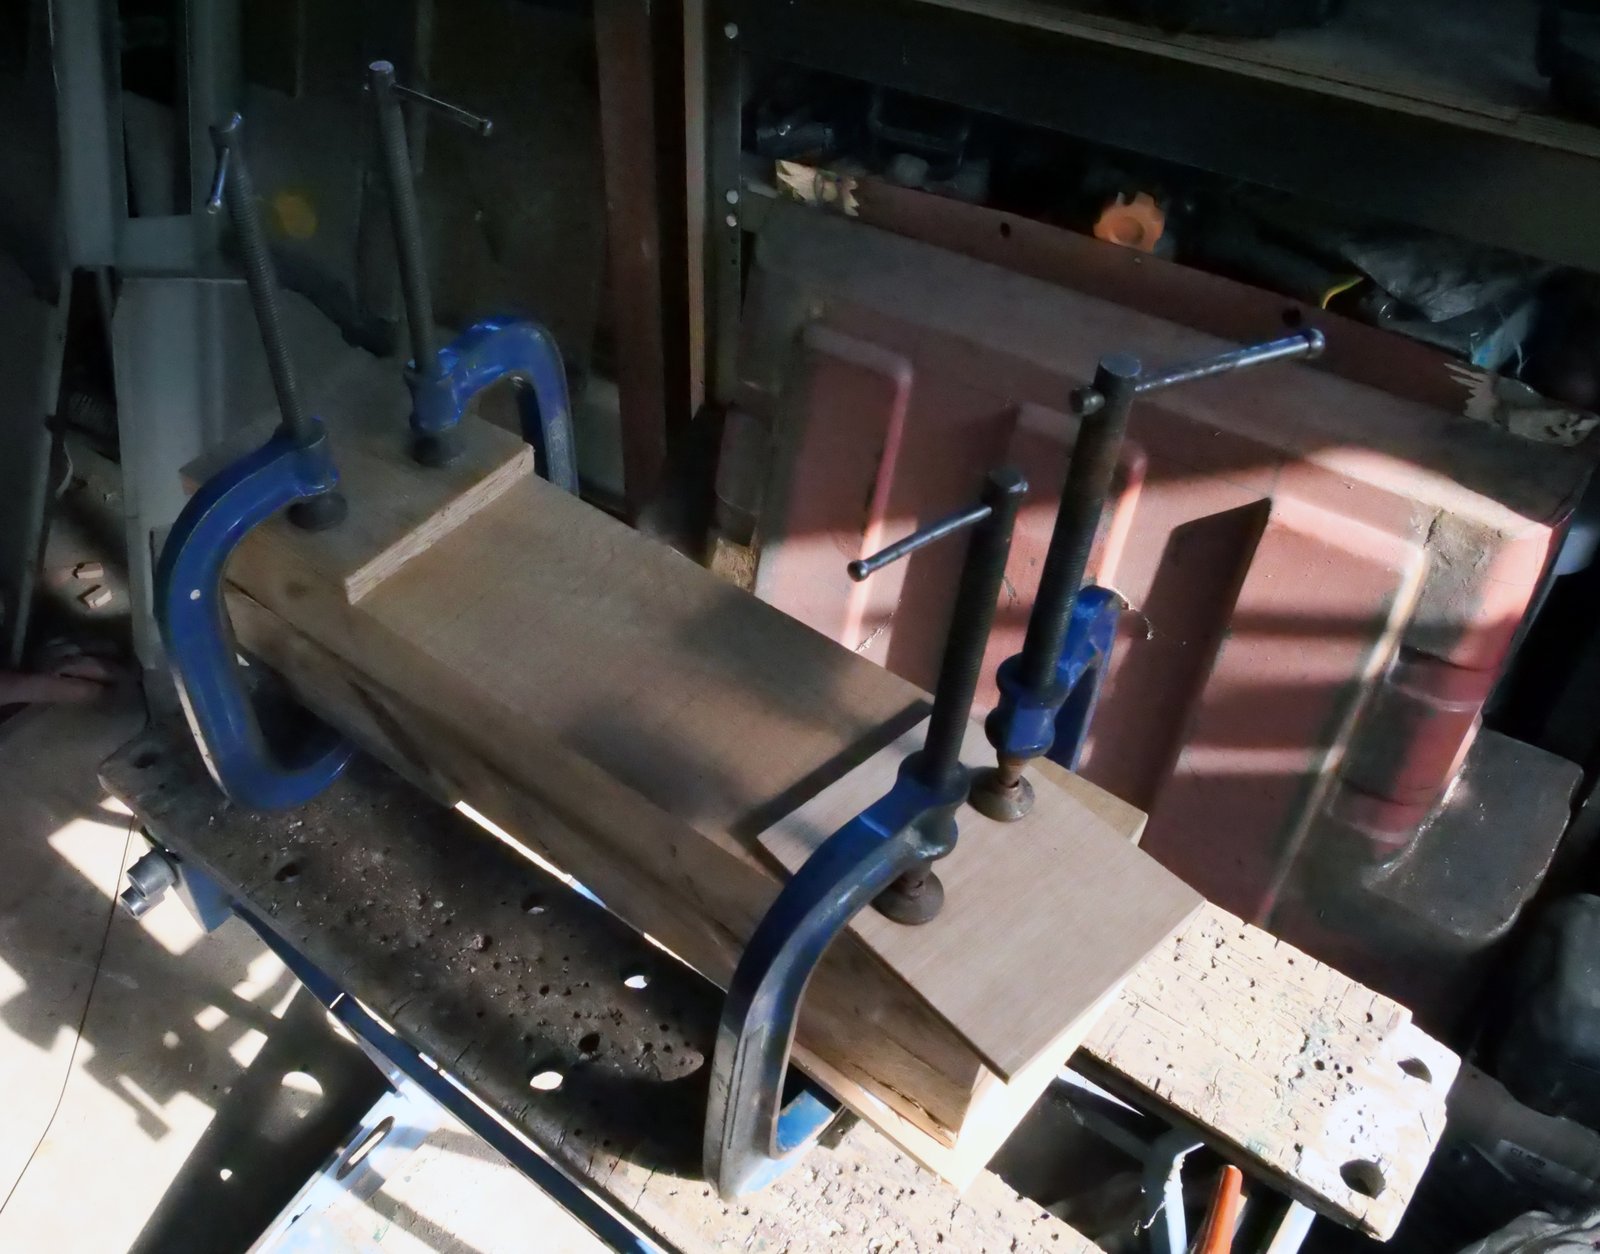
Work started on the hardwood former, to panel beat the reassess pocket for the van dash.
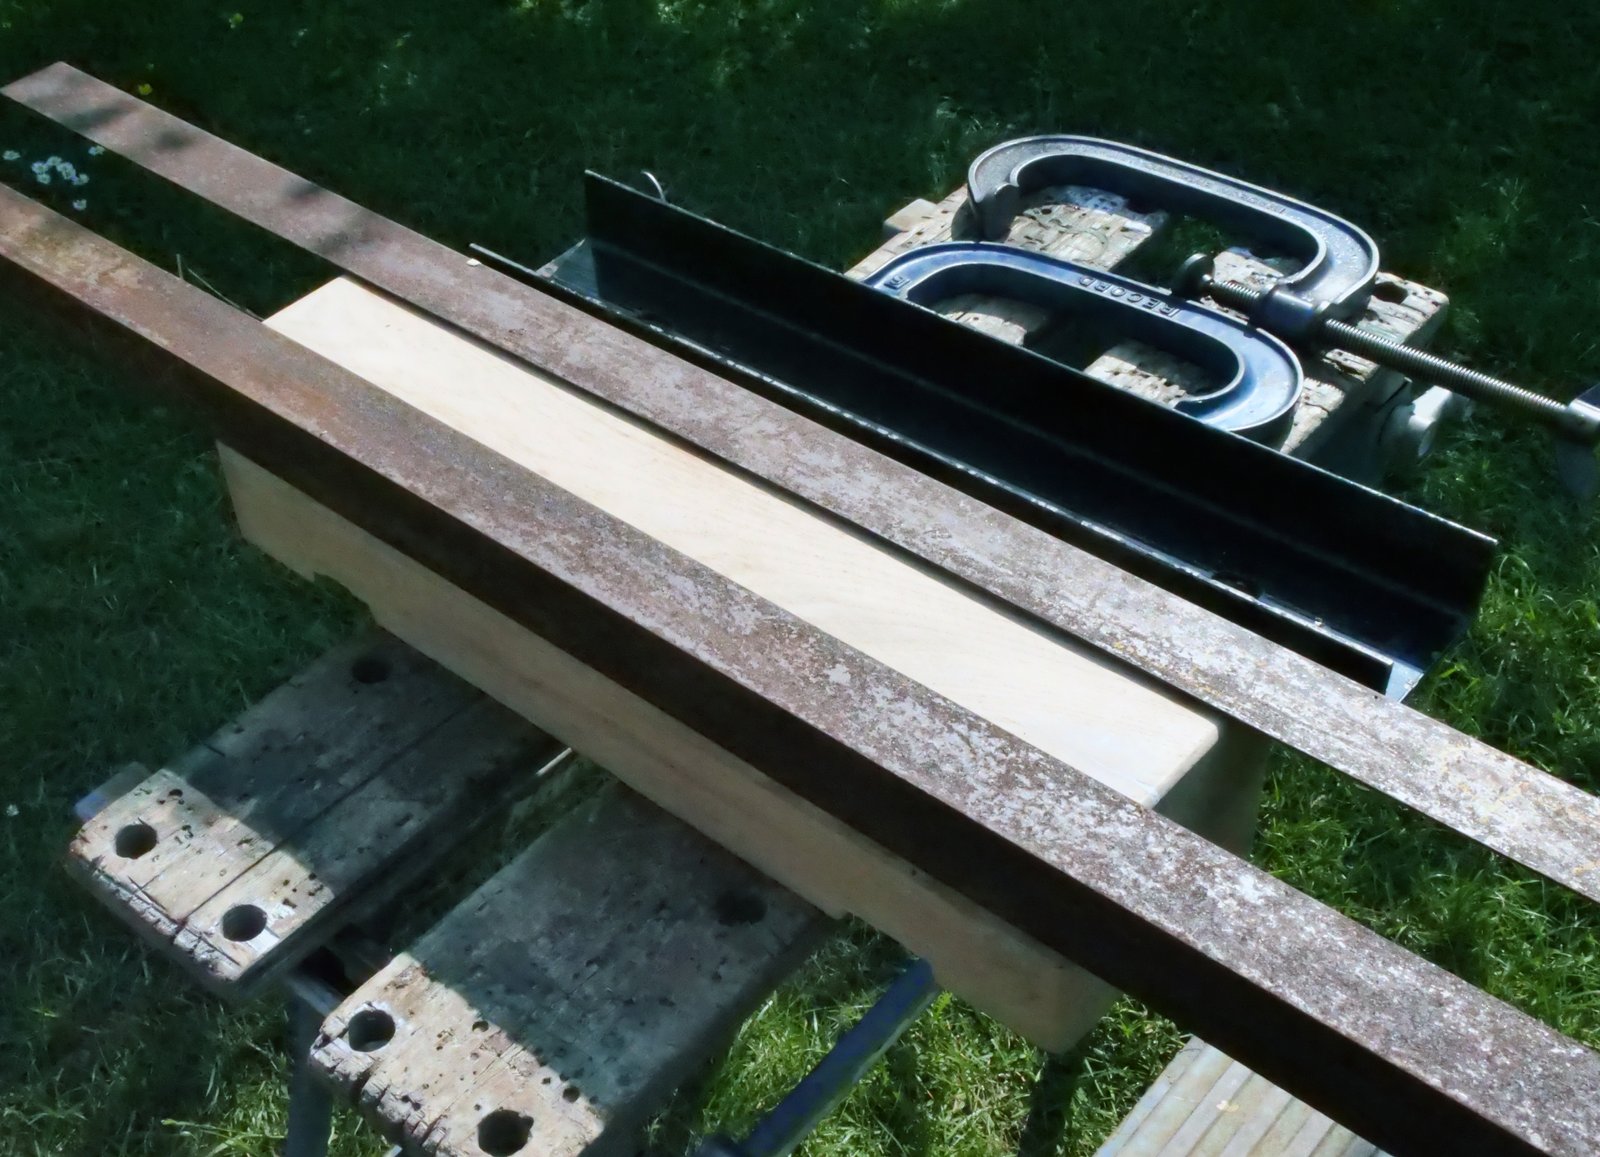
Scrap oak cut to size, alongside the cardboard mock-up. we have decided to make the pocket slightly longer to utilize all of the available space, (but haven’t remade a new cardboard mock-up, which shouldn’t be needed). The top opening is now 510mm long by 150mm all the rest remains the same as before.
Wood cut to size.
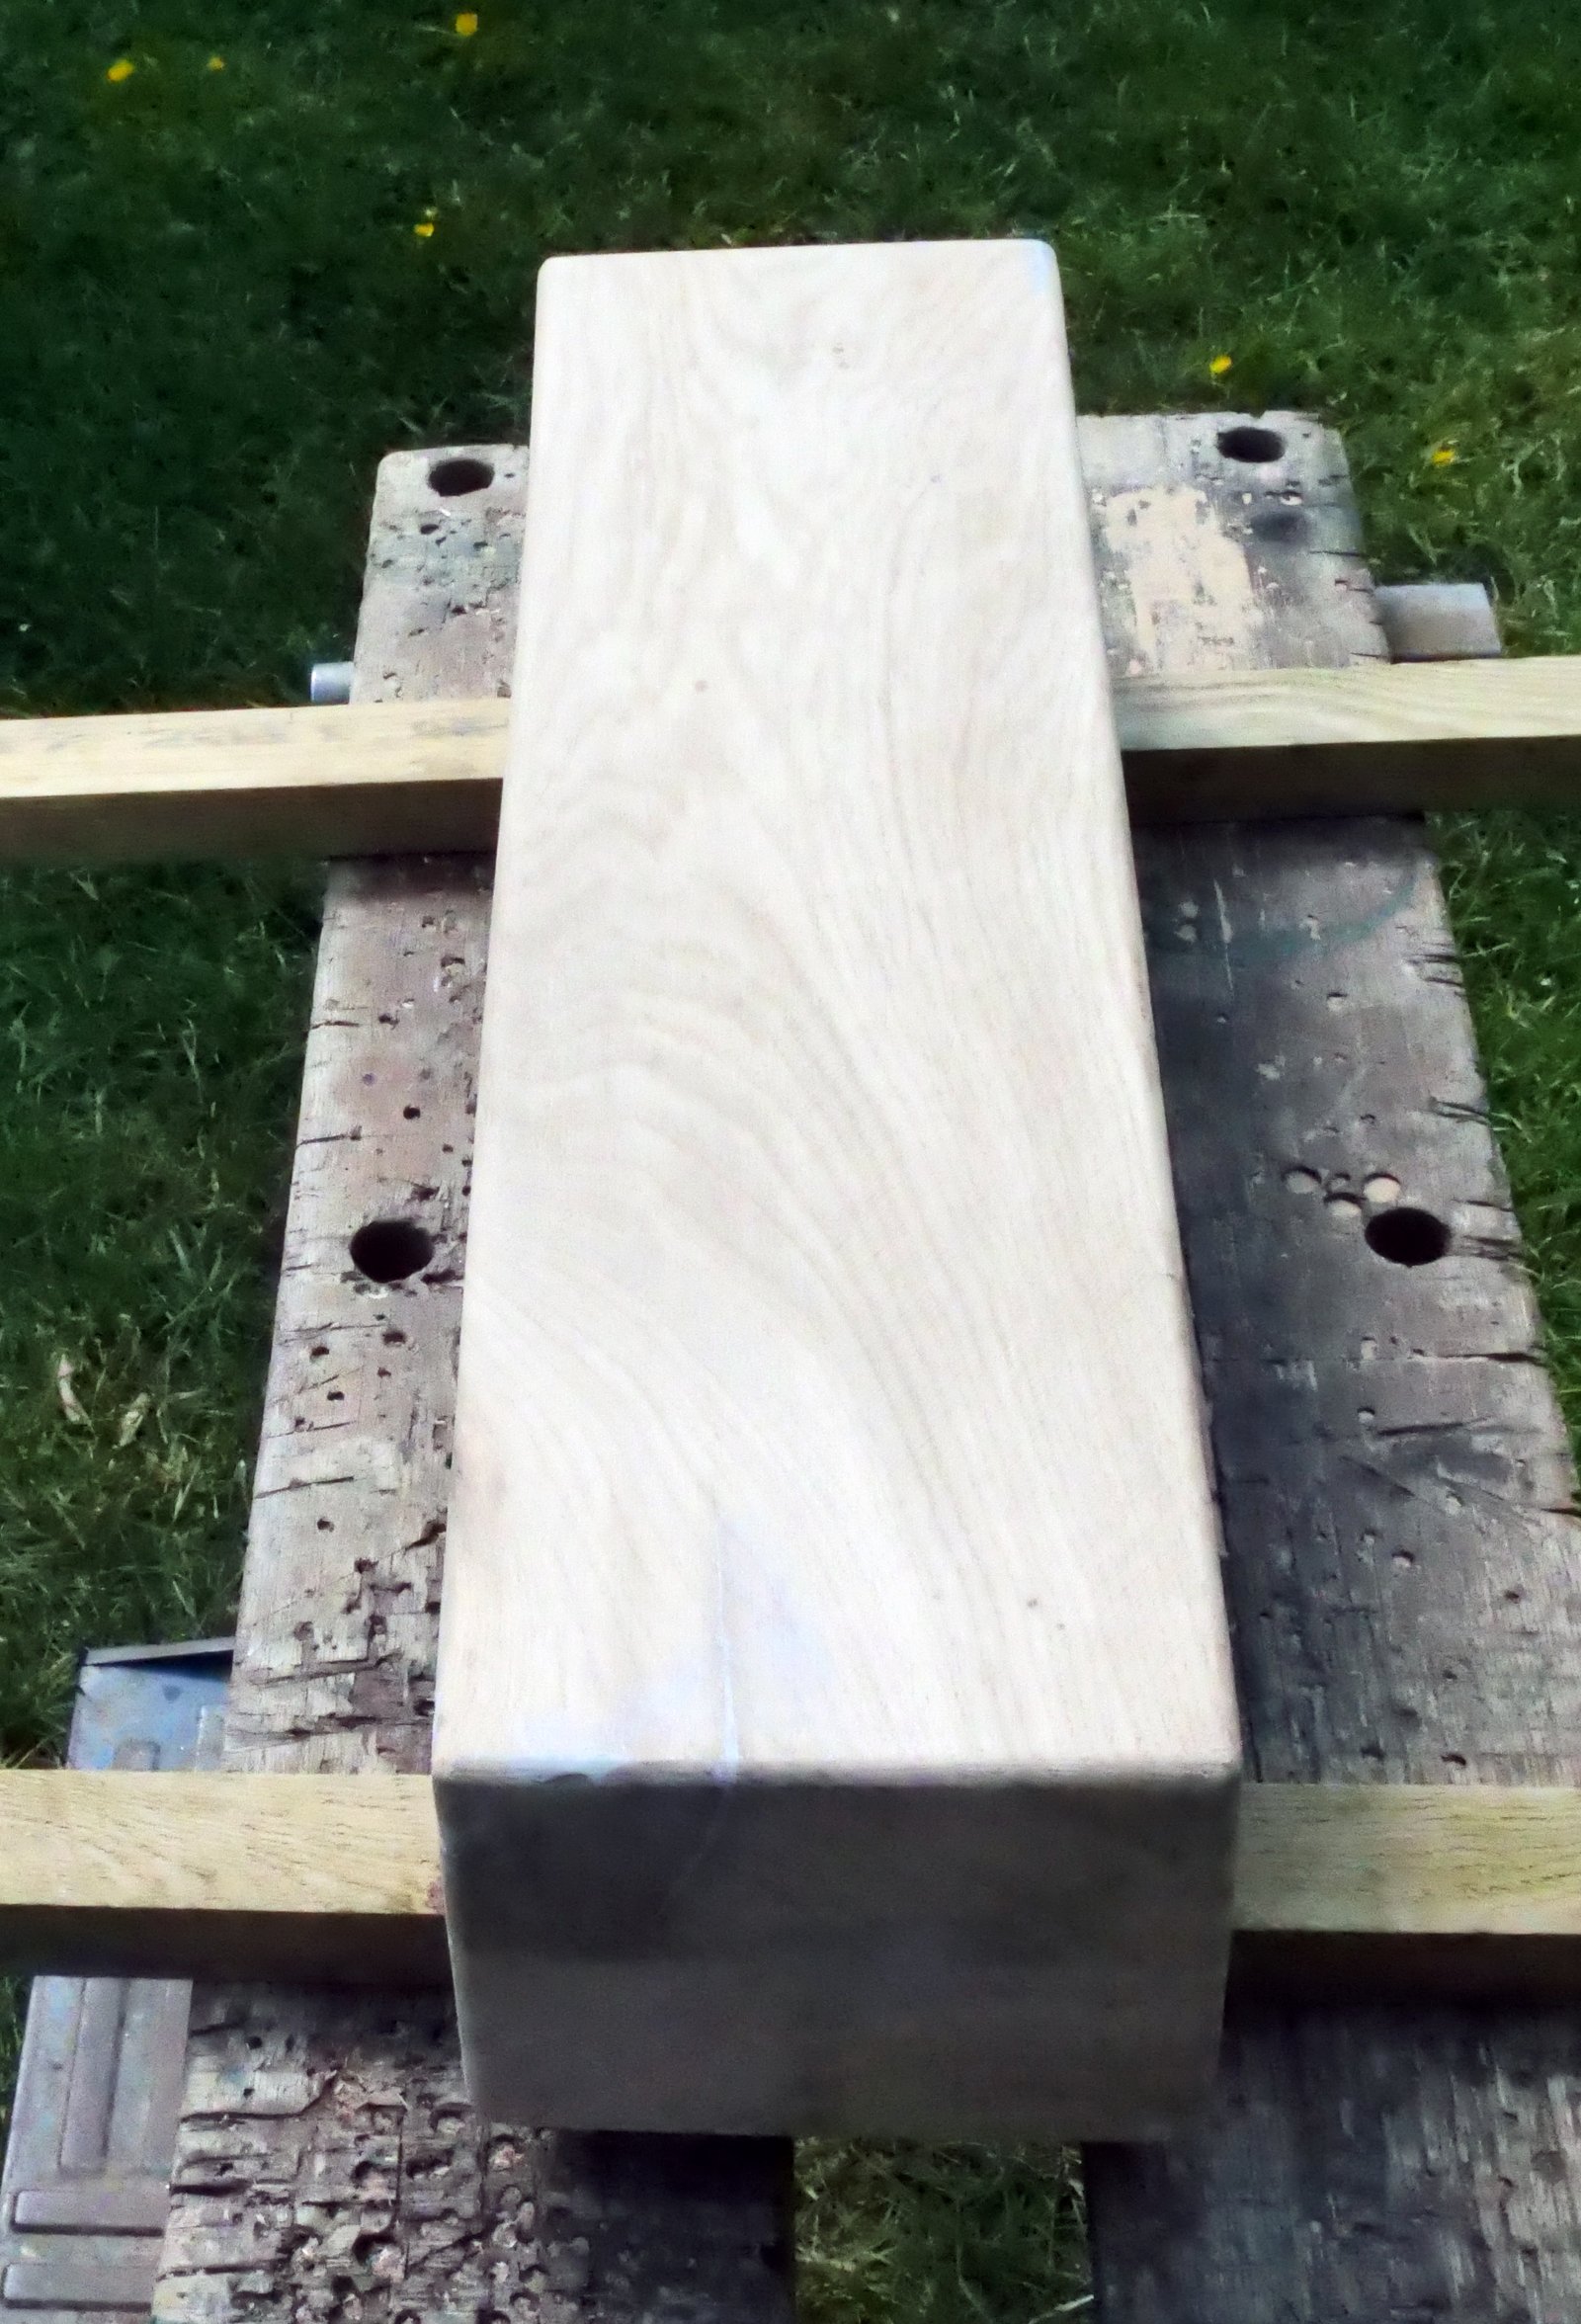
The former is 6mm narrower than the inside of the box to allow for angle iron edges, as the wood despite being oak is still too soft to bend the metal around properly (we did try). Unfortunately, this will result in sharper corners than we originally intended (photos of angle iron edges further down the page).
Hardwood planks glued together to form one piece.
Sanded flat, & the corners rounded using a router to ensure they are a uniform curve, 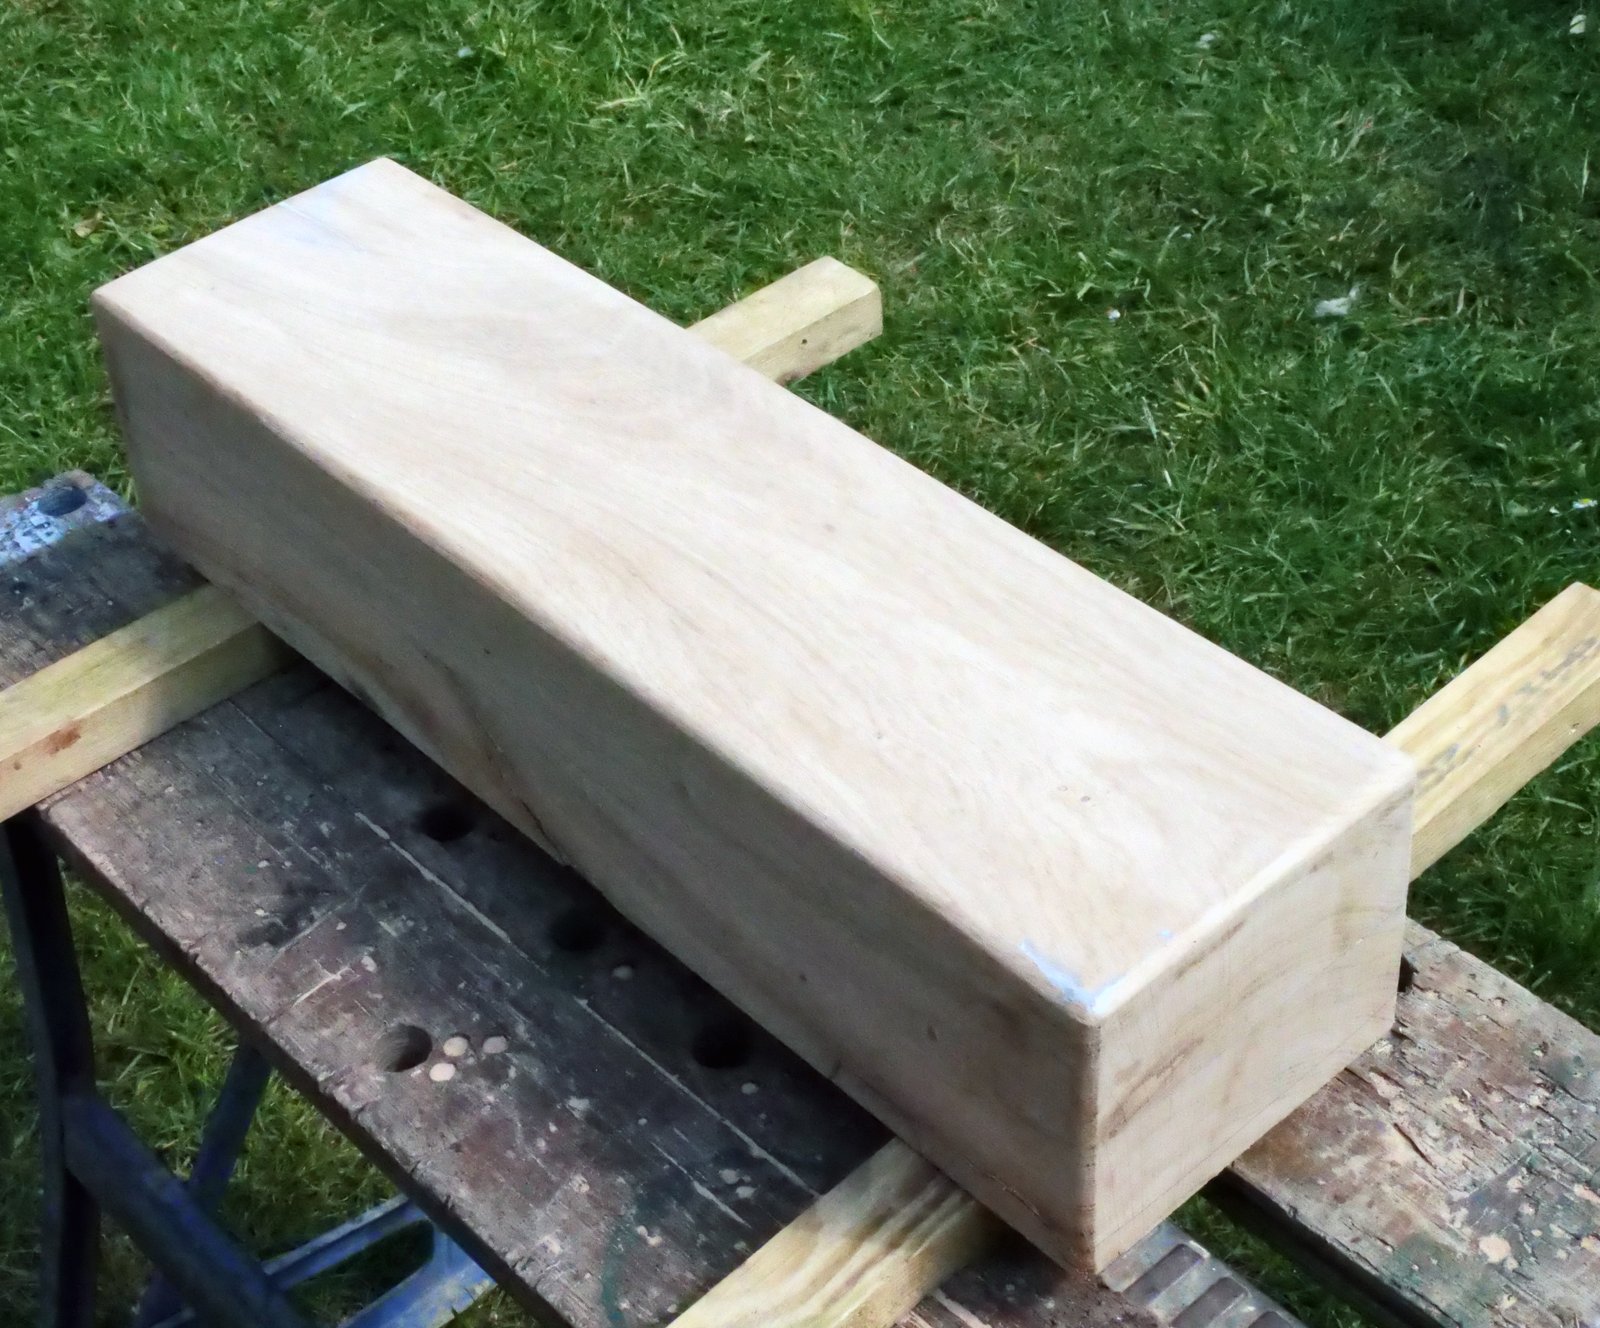
Any blemishes in the wood filled & sanded.
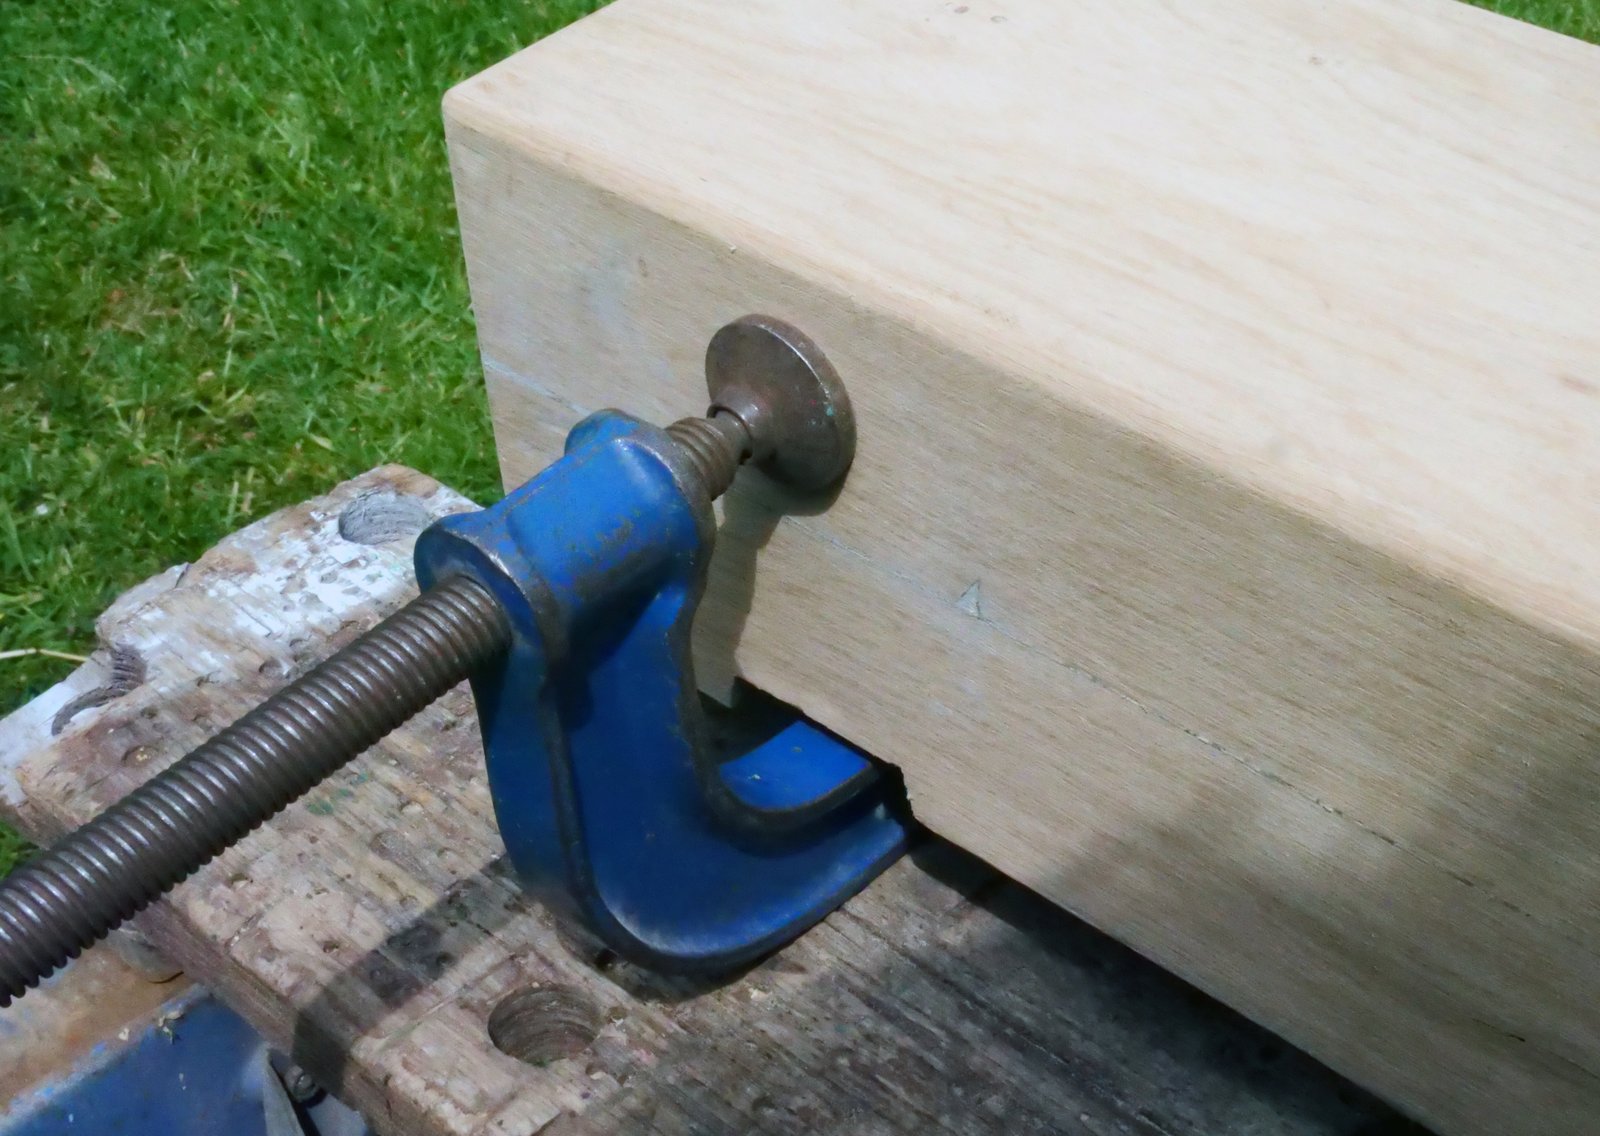
The base has two recessed slots added to allow clamps to reach the top.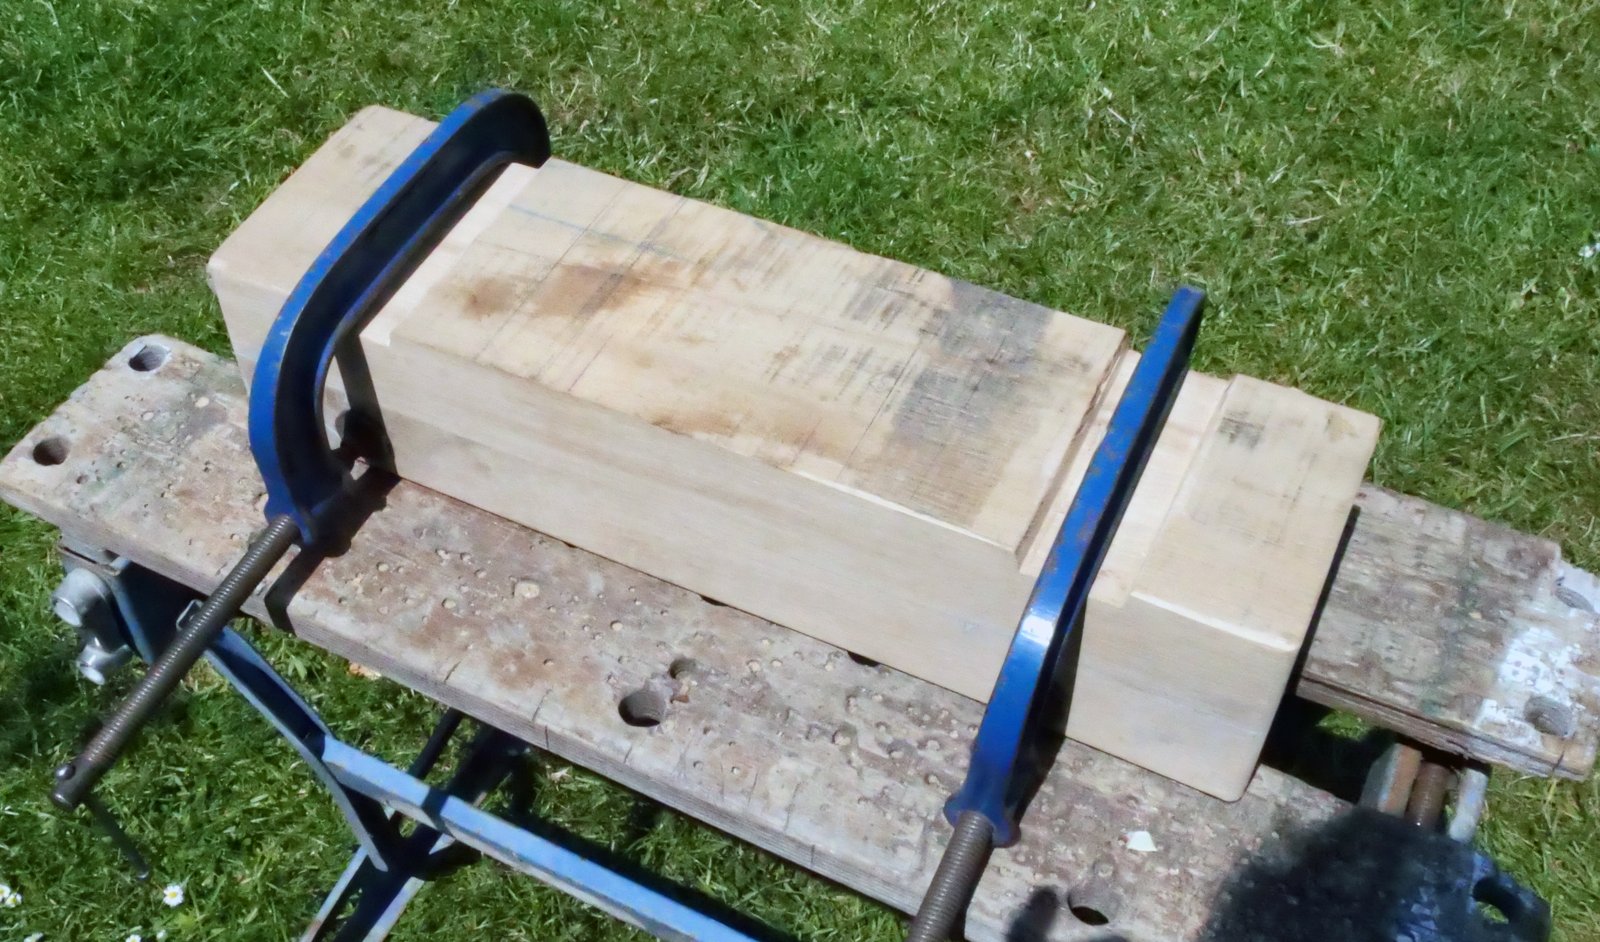
The angle iron side edges on the now 6mm narrower block, ends have yet to be cut.
The angle iron is all cut & ready to be cleaned up for welding.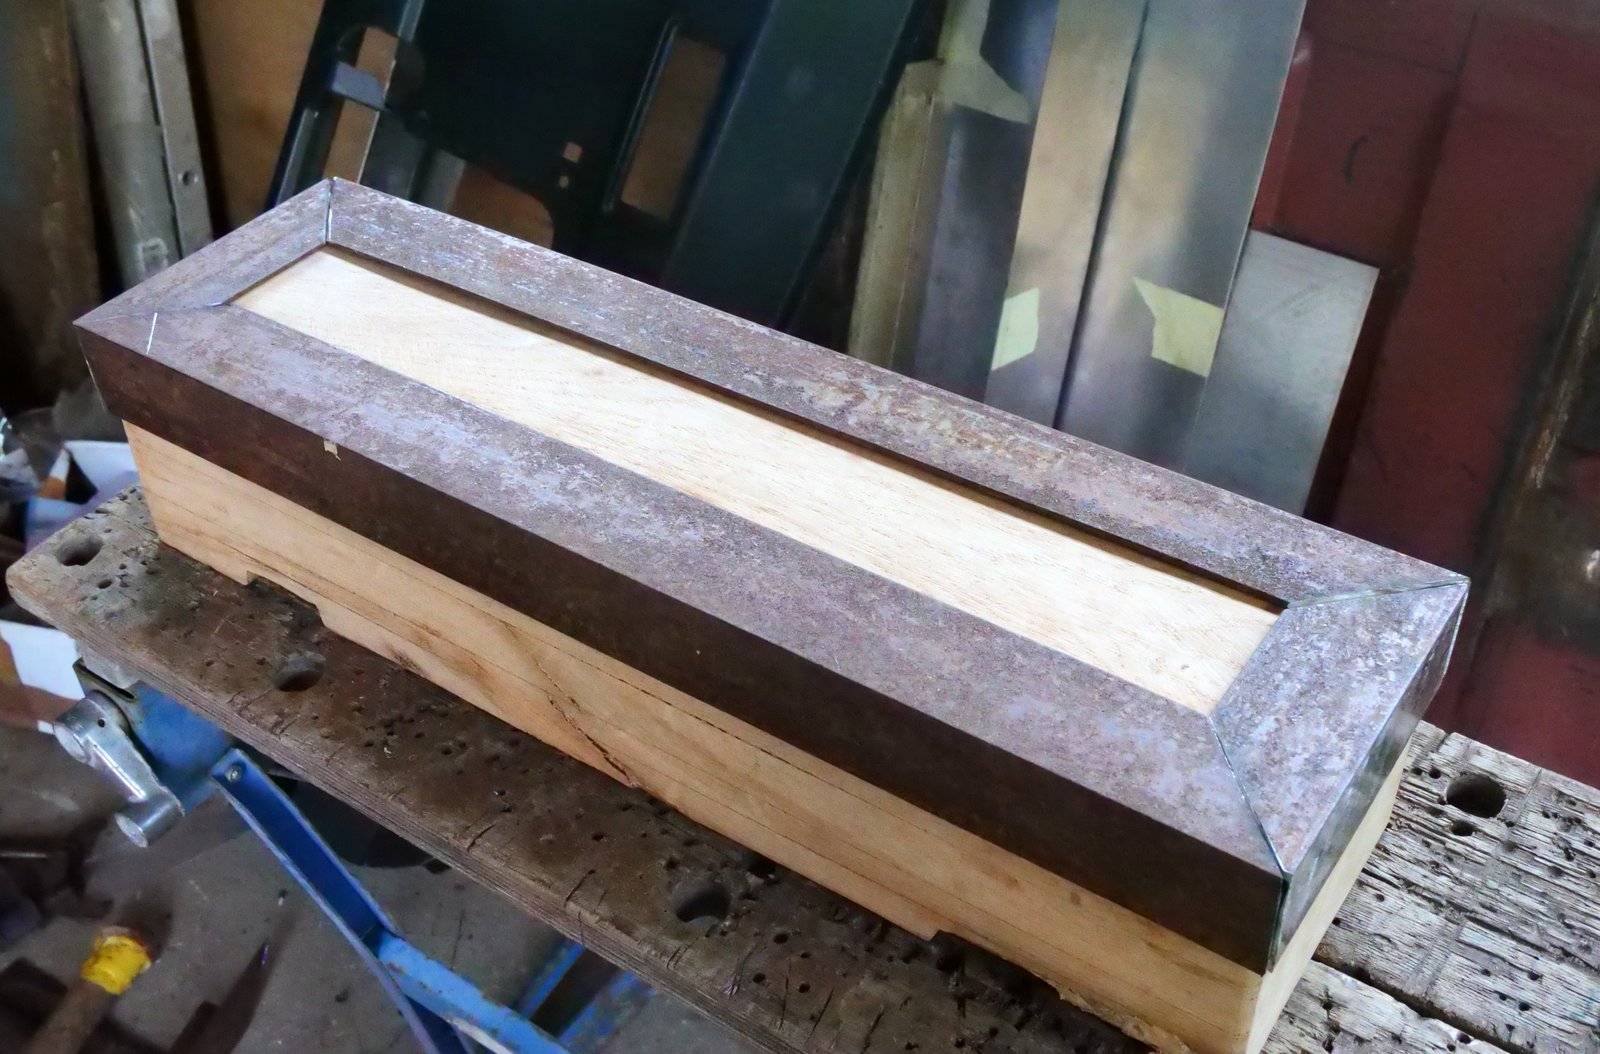
A quick check for size before welding.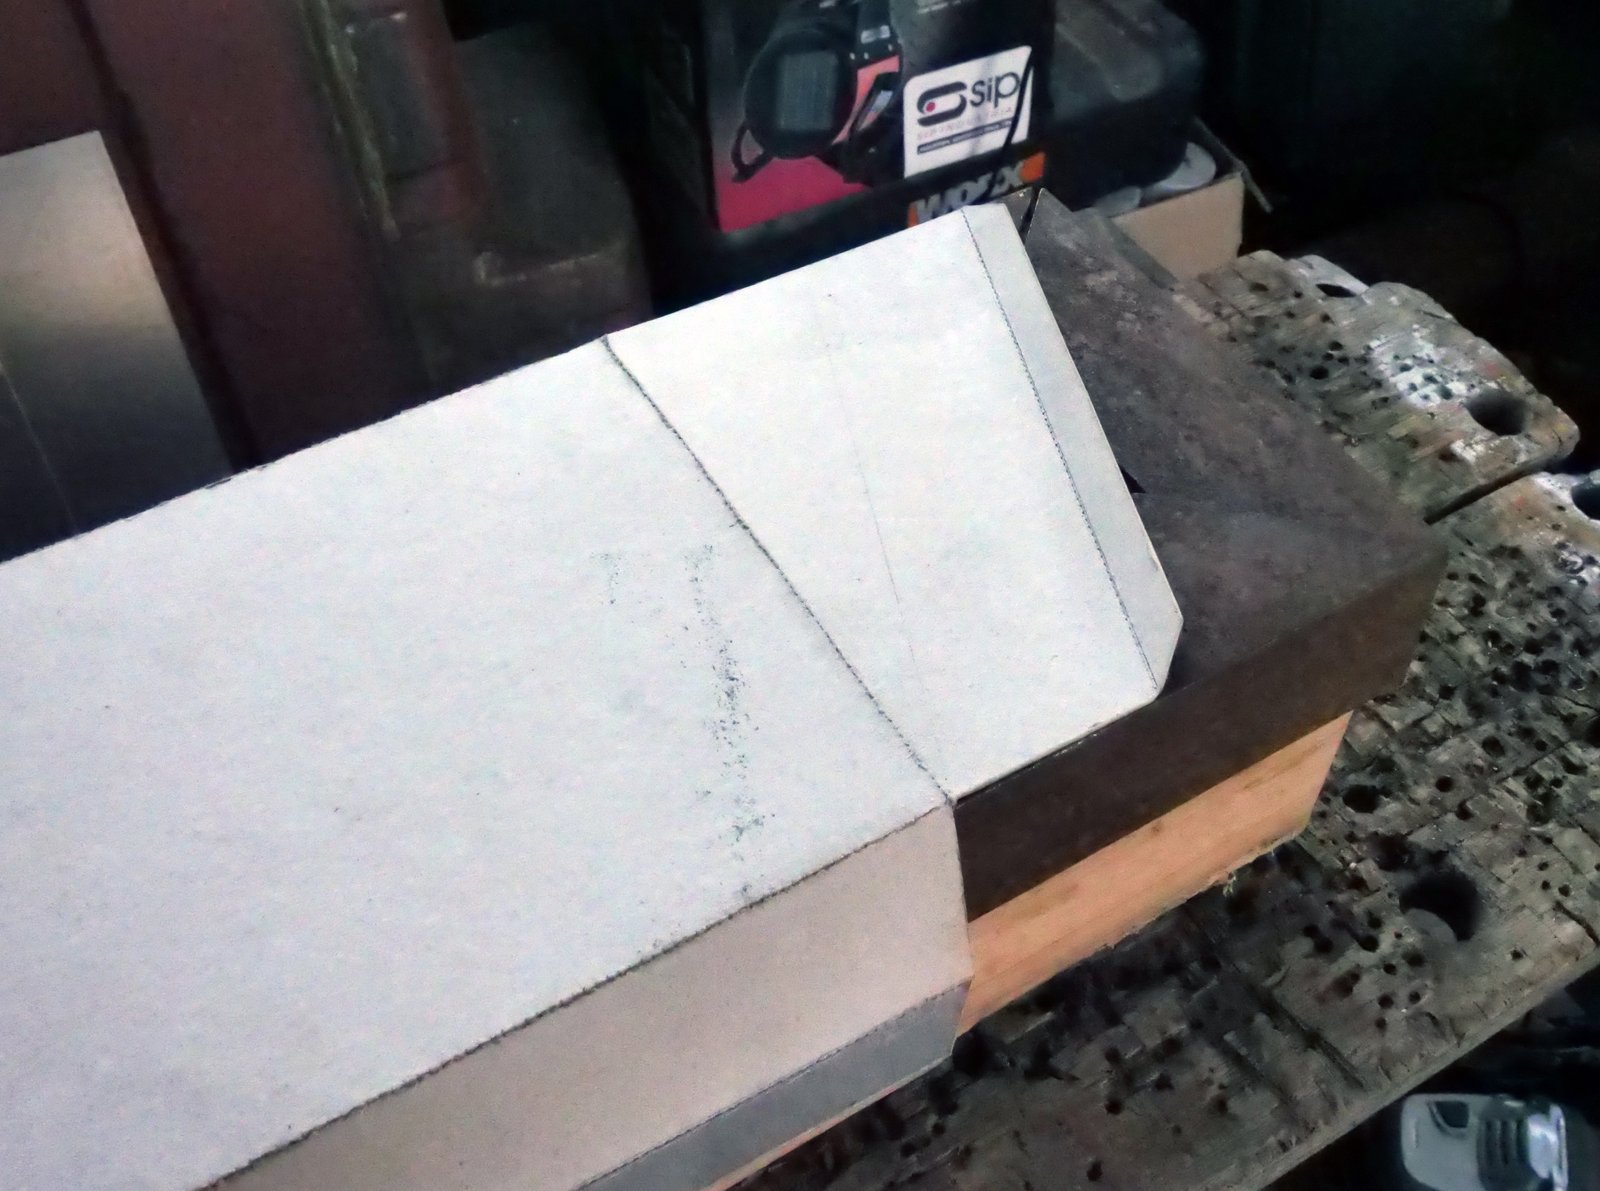
Some clapping options, (holding photo needs replacing).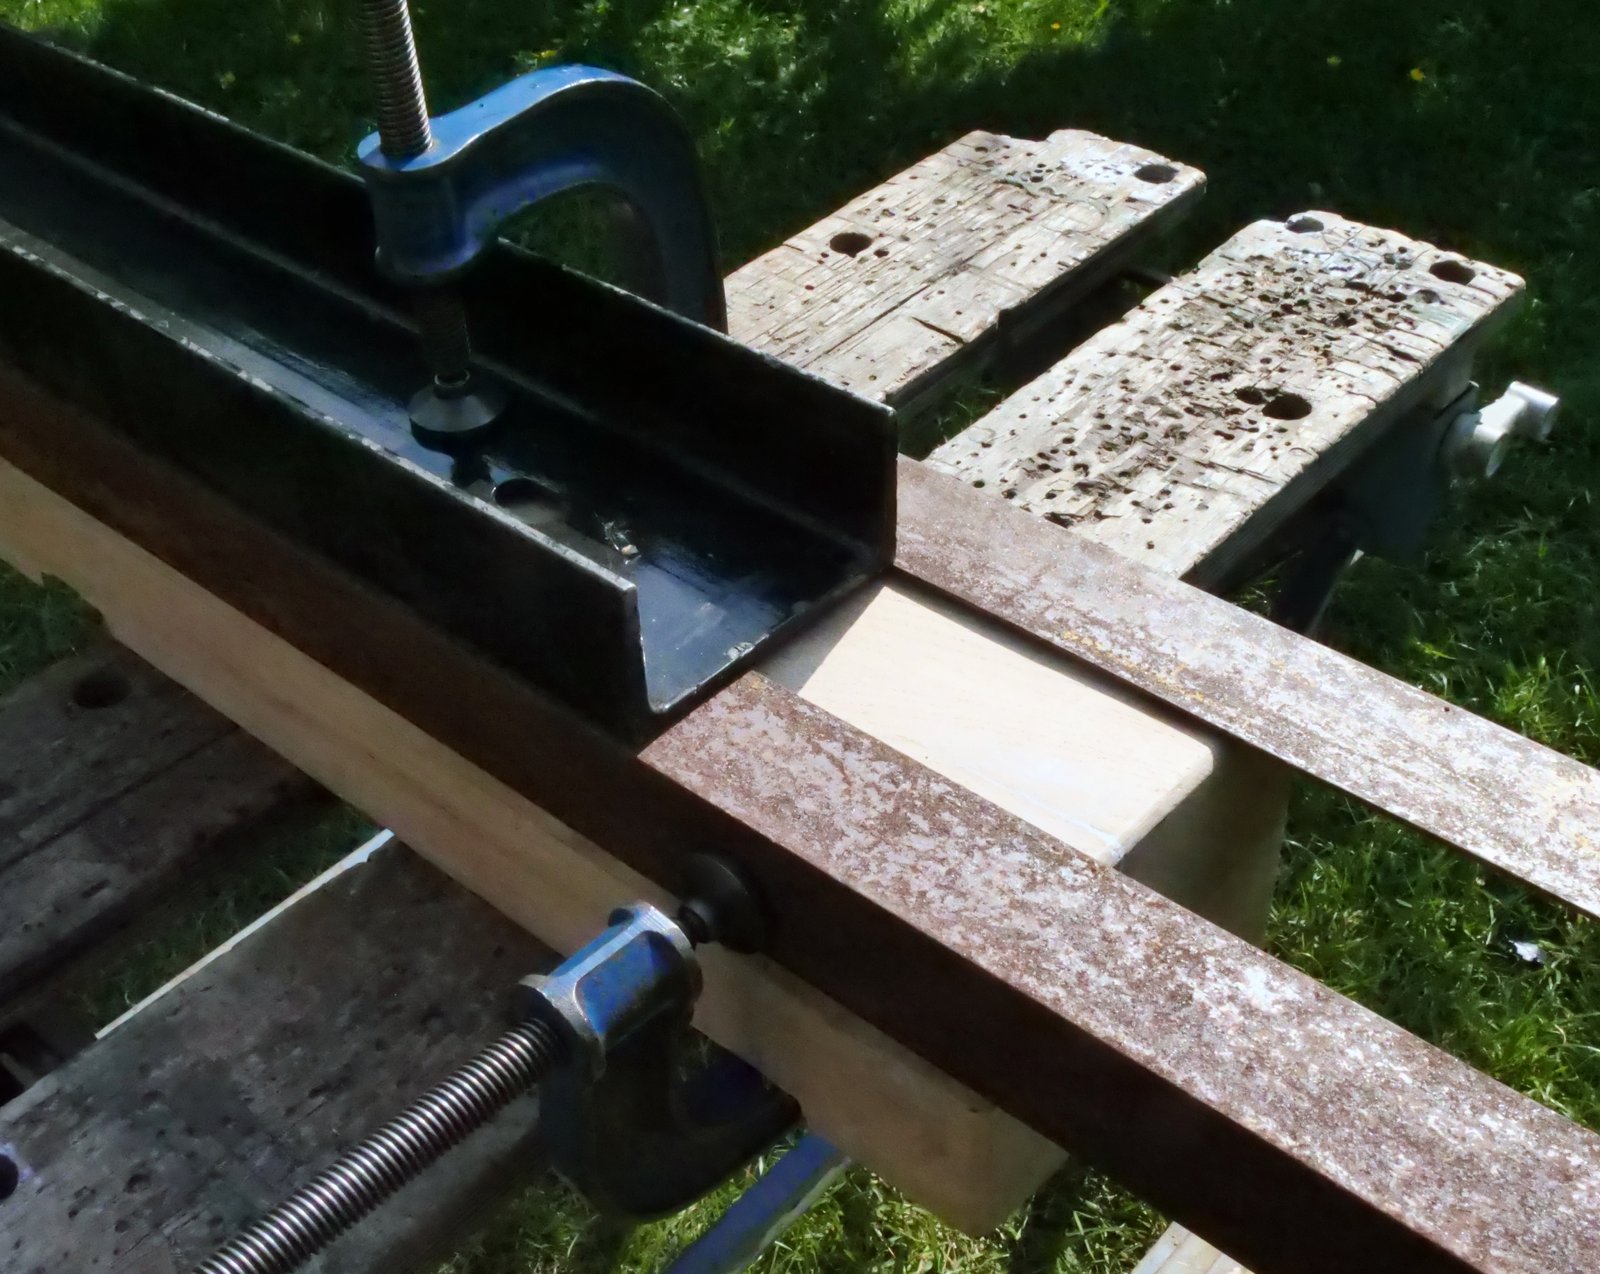
More to follow soon.